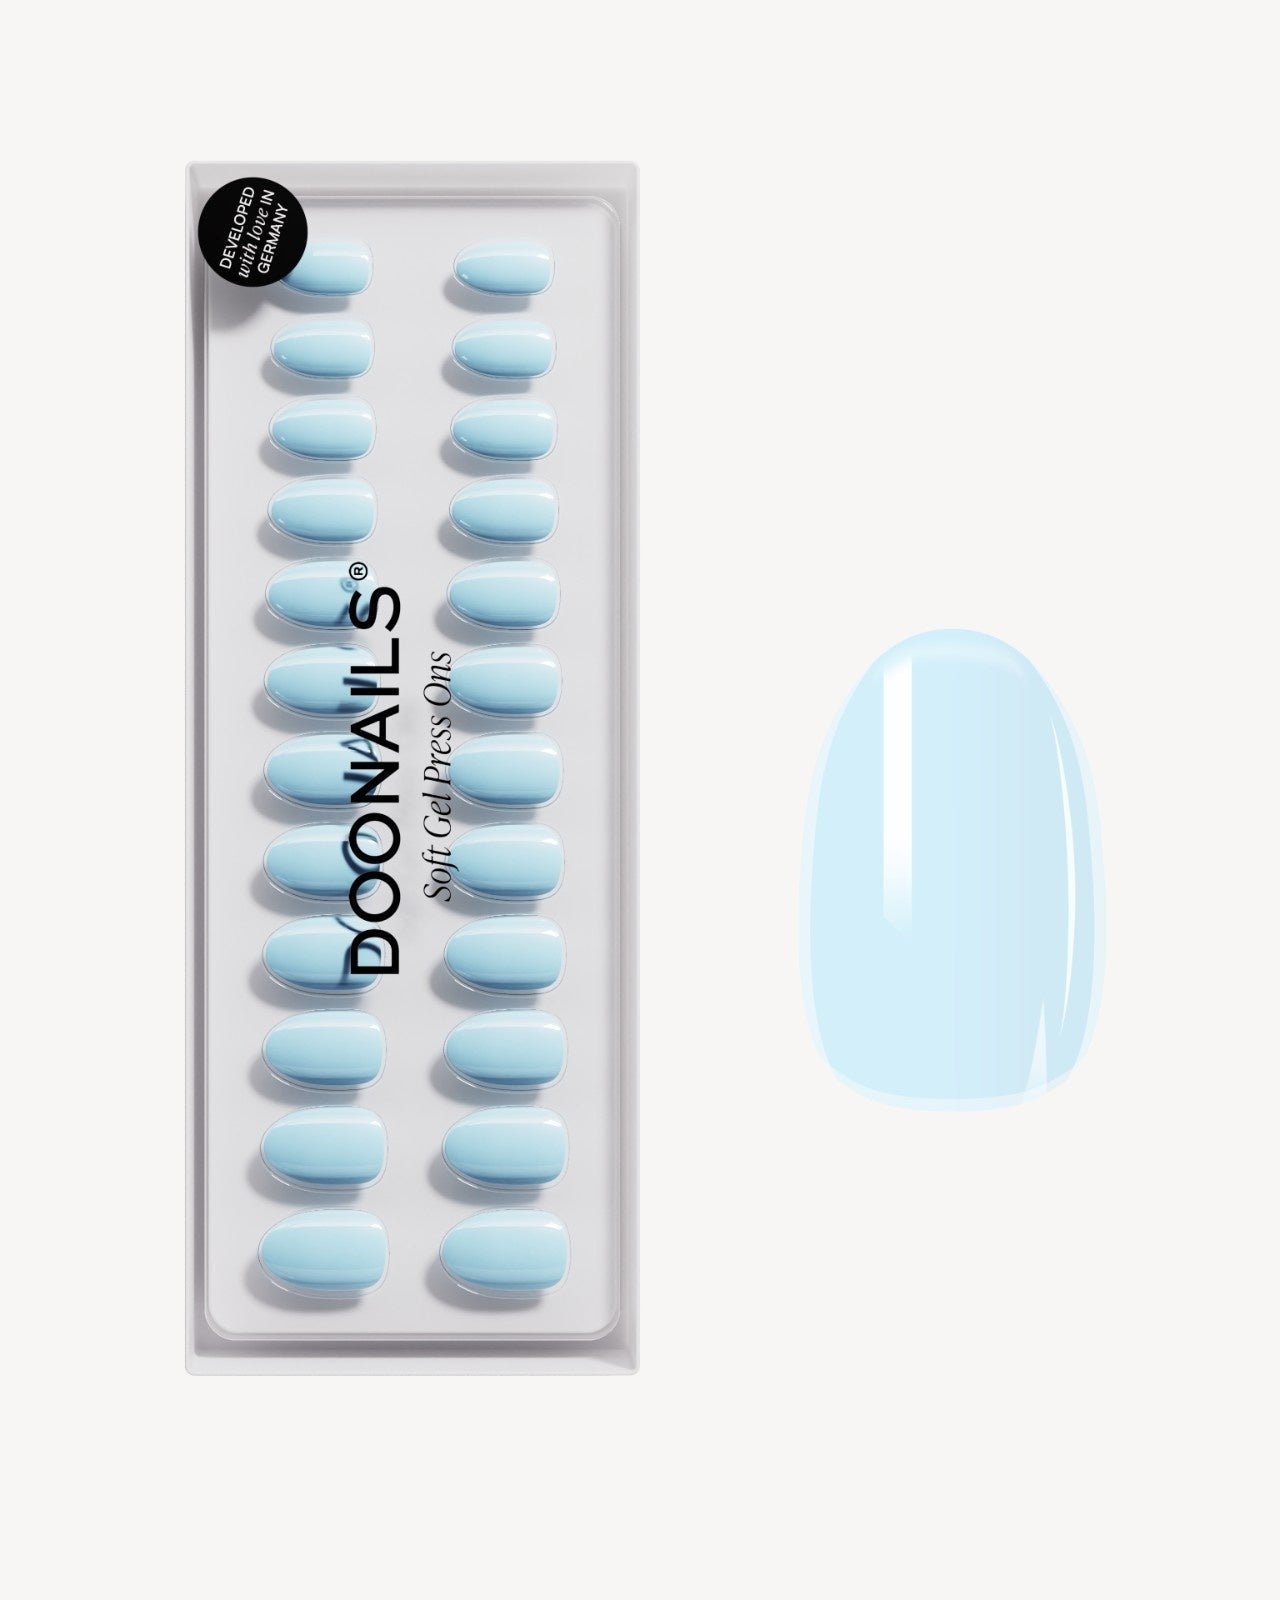
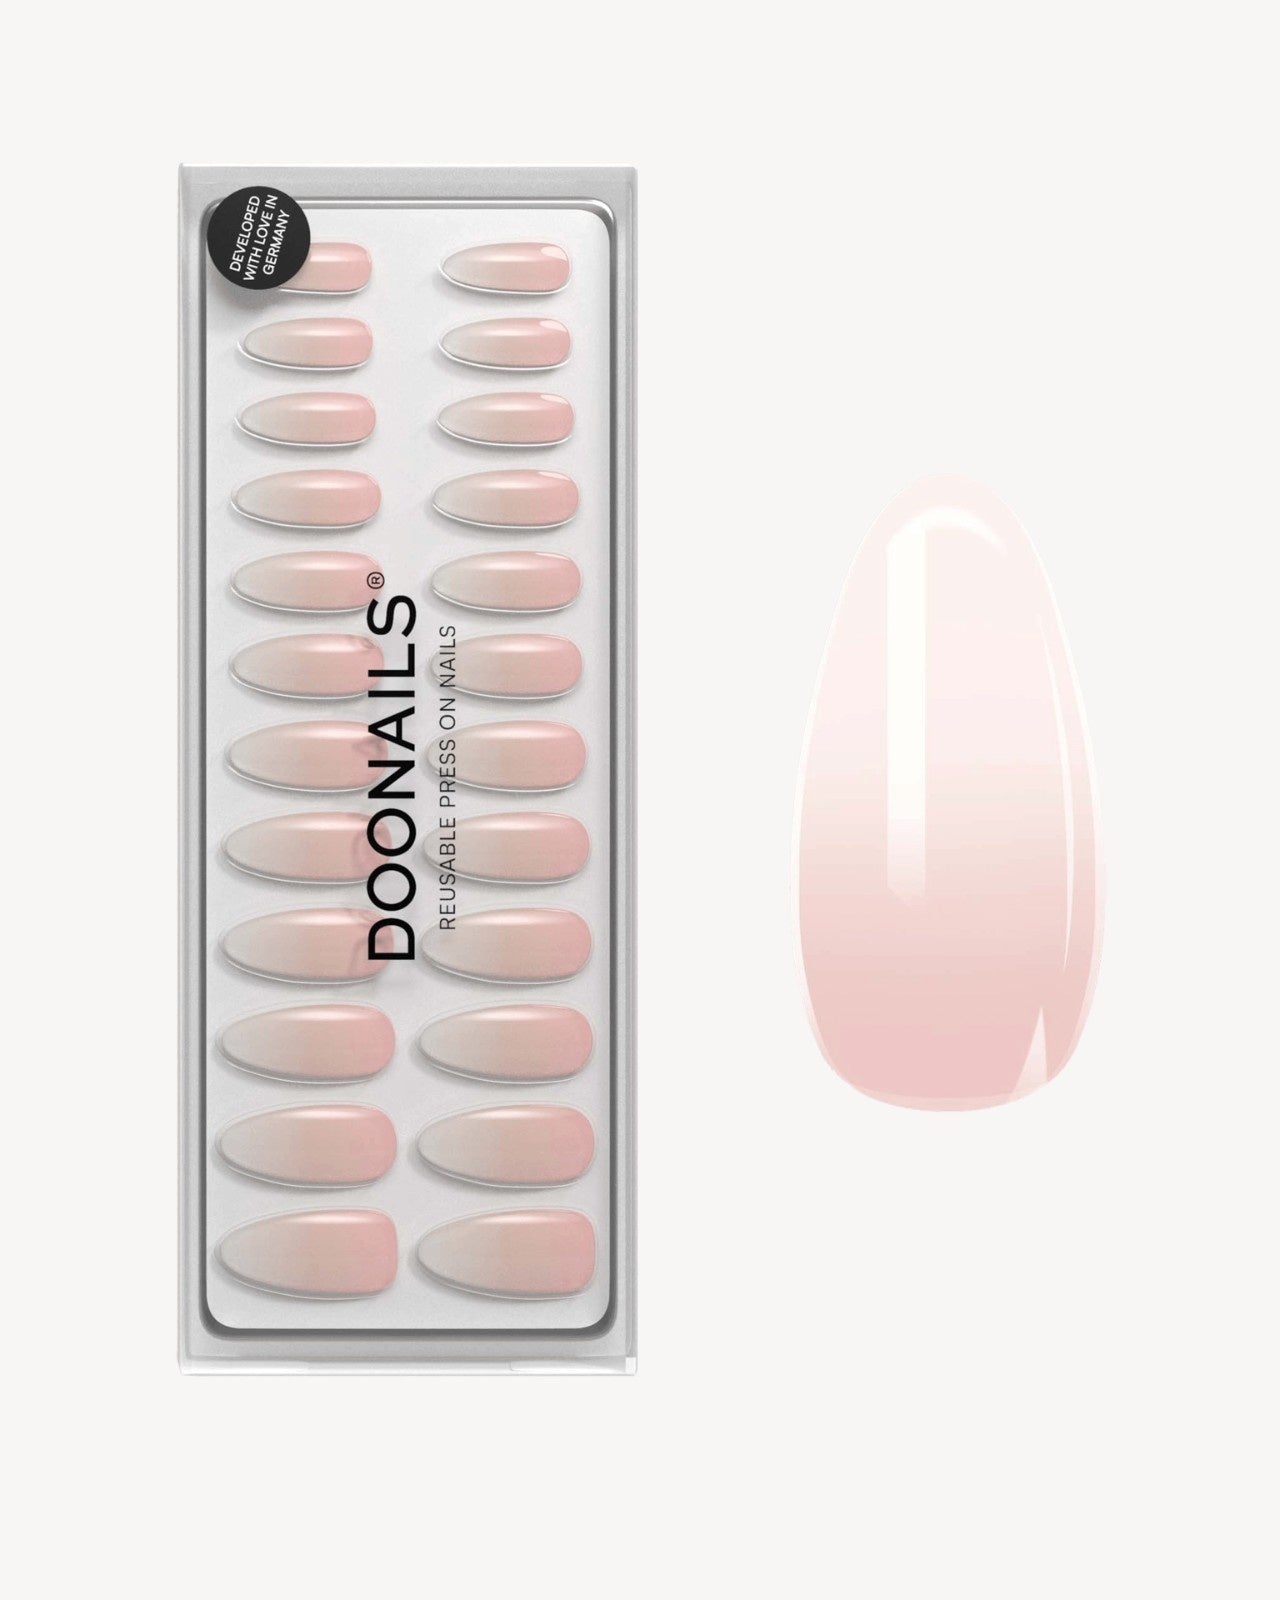
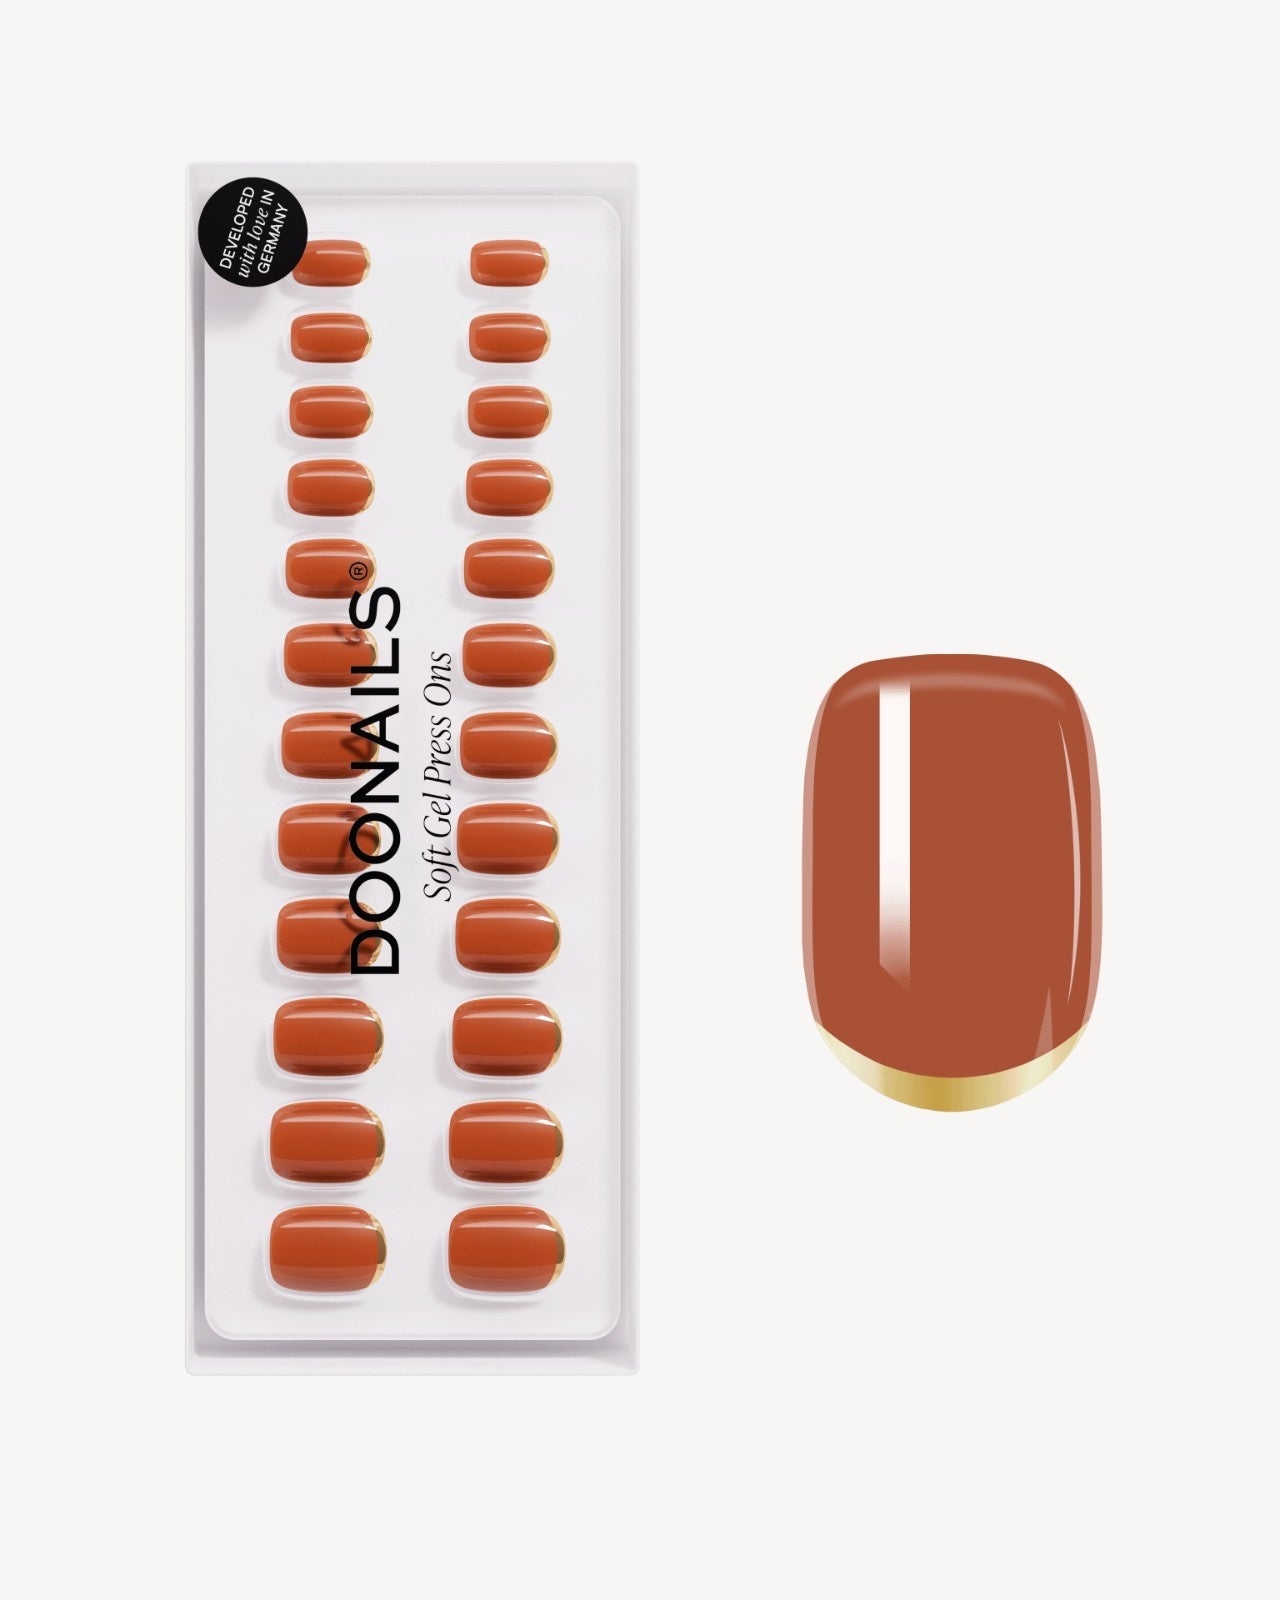
Soft Gel Press Ons are a fantastic way to elevate your look in no time. Extra Short Square in a classic French design today, and Medium Almond in a dreamy baby boomer look tomorrow? Totally doable—thanks to adhesive tabs! And the best part? They make it possible to reuse your Press Ons.
In this blog post, we’ll walk you through how to gently remove, clean, and store your favorite Press Ons so you can enjoy them again and again.
1. Gentle Removal
To get the most out of your Soft Gel Press Ons, it’s important to remove them carefully. Here’s our go-to removal routine:
Step 1: Apply cuticle oil
Apply a bit of cuticle oil to the edges of your nails and gently massage it in. This helps loosen the Press Ons from the sides.
Step 2: Prepare a soak
Fill a bowl with warm (but comfortable) water, add 1–2 pipettes of remover oil, and mix in 2 pumps of hand soap.
Step 3: Soak your nails
Soak your nails for about 10 minutes. Use an orangewood stick to gently slide under the Press Ons and loosen them as you go.
Step 4: Remove the Press-Ons
Once the nails are fully soaked and loosened, carefully lift them off. If you feel resistance, soak them a little longer and check again. Never forcefully pull them off—this can damage your natural nails.
Step 5: Remove adhesive residue
After the Press Ons are removed, use a nail buffer to gently buff away any leftover glue, or apply a bit of Doonails remover liquid to a cotton ball to dissolve the residue. Alternatively, you can rub your thumb from the base to the tip of your nail to roll off the adhesive.
To remove leftover adhesive tabs from the underside of your Press Ons, use an orangewood stick. Start at the center of the sticker and twist the stick until the glue rolls up and comes off completely.
2. Thorough Cleaning
Once all glue is removed, it’s time to clean your Press Ons. Even though your soak contained soap, there may still be oil or residue left behind—so a deeper clean is a must.
The easiest way? Lather some hand soap with water as if you were washing your hands. Then take each Press On, gently rub both the front and back with the soapy mixture, and rinse briefly with clean water. Pat dry with a towel or paper towel and let them air dry for a few minutes.
3. Proper Storage
Storing your Soft Gel Press Ons safely until their next use is key. The original packaging is ideal—it holds the nails securely in place and protects them from scratches or damage.
Alternatively, you can use a large organizer box to sort and display multiple designs at once. Just use a bit of double-sided tape to attach each Press-On in place and keep everything neat and visible. You can find great storage options online.
No matter how you store them, the most important thing is to keep your Press-Ons dry and protected from dust and dirt to maintain their quality.
Final Thoughts
If you want to get the most out of your Soft Gel Press Ons, the tips above are your go-to guide. By removing them gently, cleaning them thoroughly, and storing them properly, you’ll be able to reuse your favorite designs again and again—until they no longer meet your standards.


