


Video guide: Your new foot care routine explained in under 7 minutes
Discover just how easy it is to use our Soft Gel Press-On pedicure – simple, quick and reliable. From proper preparation to long-lasting results with a natural look and a radiant shine.
Everything you need for your soft gel press-on pedicure
- Soft Gel Press On Starter Set
Nice to have:
- Nail glue for up to 14 days' wear
- Outil à ongles Duo

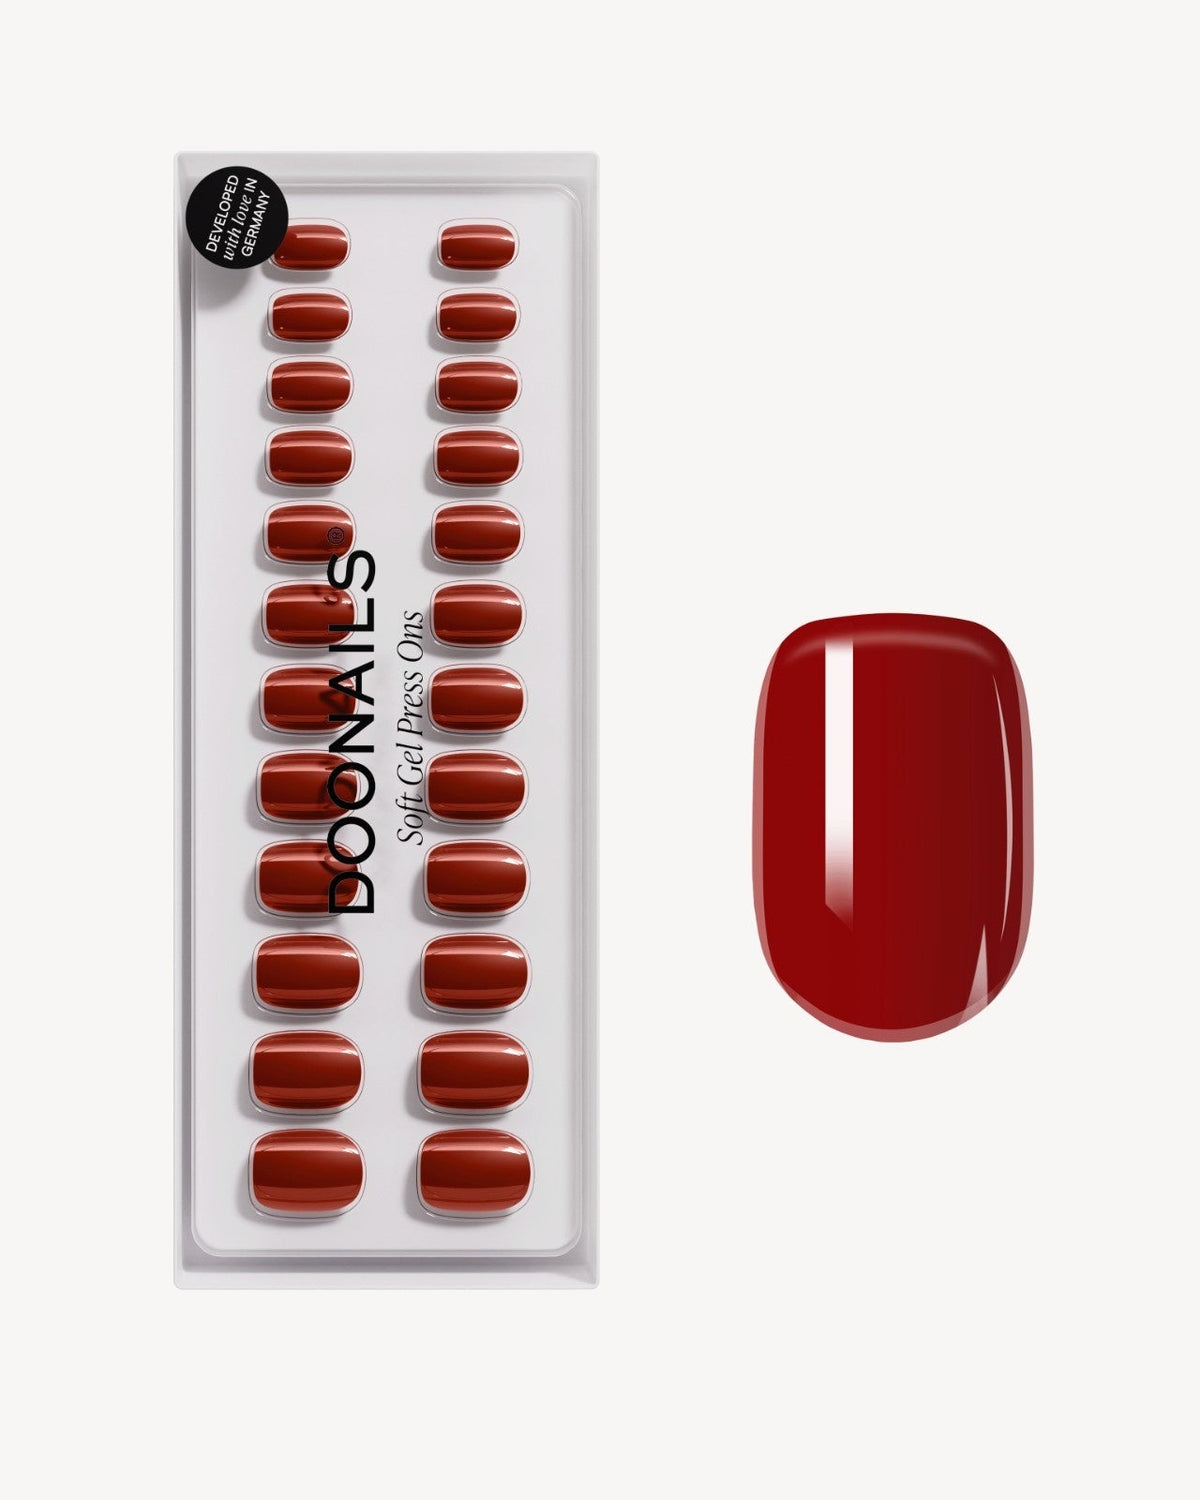
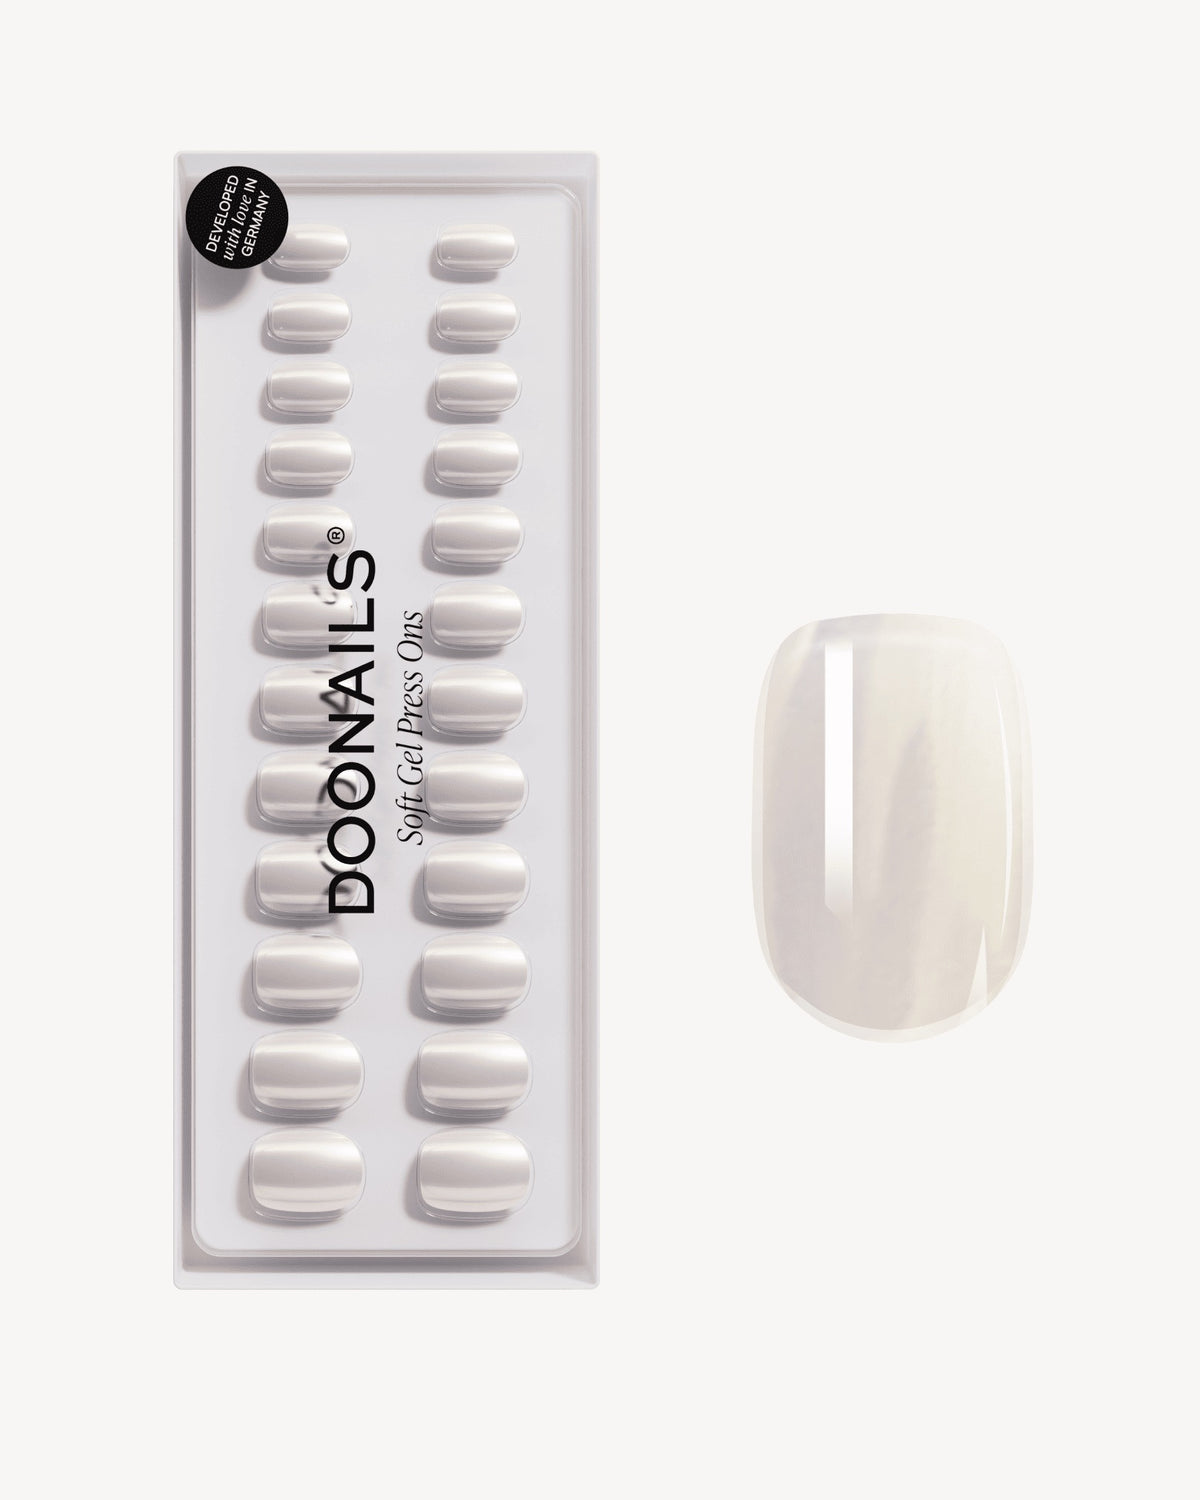
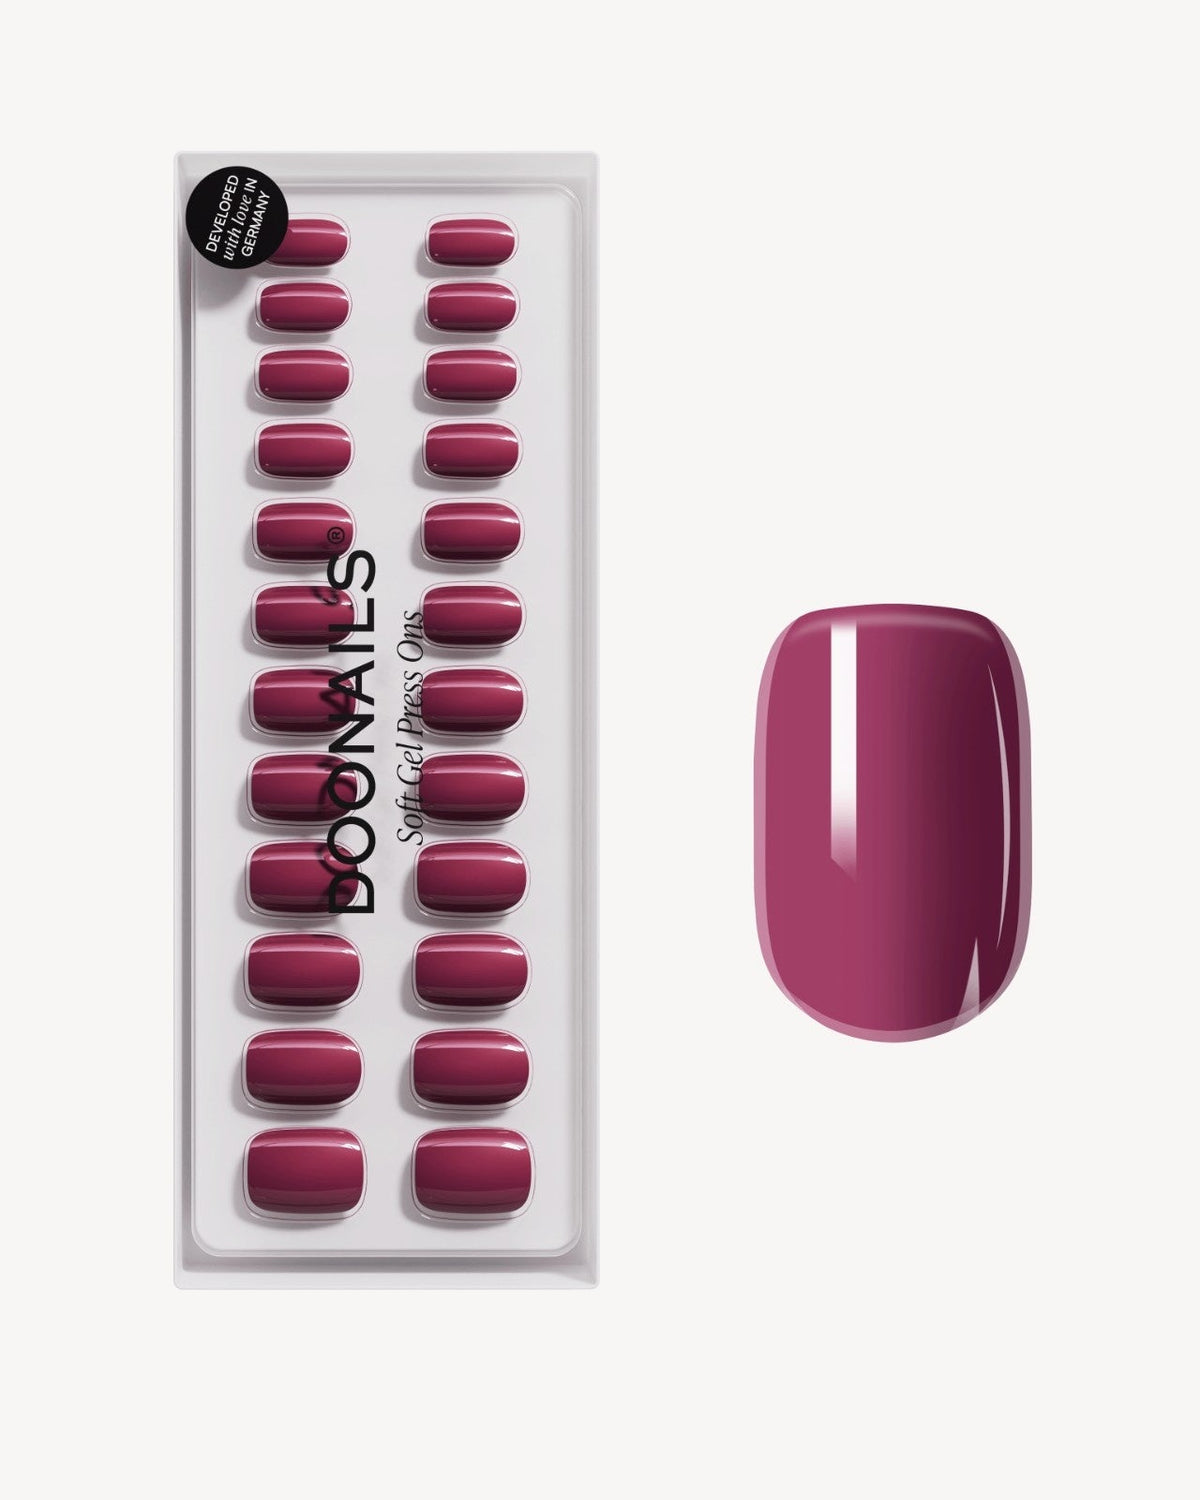
Summer Starter Set
- 30 Press-Ons & Adhesive Stickers per Set
- Easy Application & Removal
- Innovative Gel Formula in Salon Quality
- No Chipping or Fading

Brush-On Nail Glue
- Precise application with built-in brush
- Strong & reliable hold in seconds
- Perfect for fake tips, Press Ons & nail art
Voici comment utiliser correctement les faux ongles Pedi Soft Gel Press Ons :
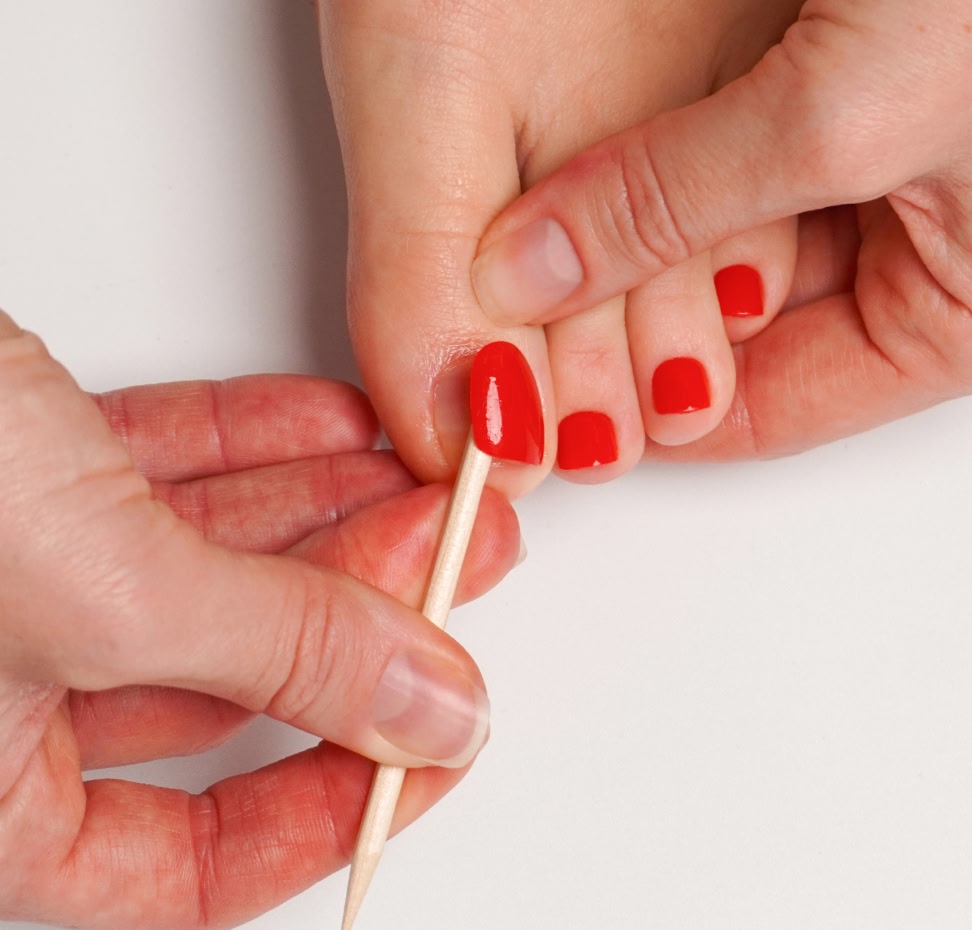
File natural nails into shape
File your toenails into shape and gently push back the cuticles with the rosewood stick.


Keep the rosewood stick after use – you’ll need it later to gently remove your press-on pedicure.
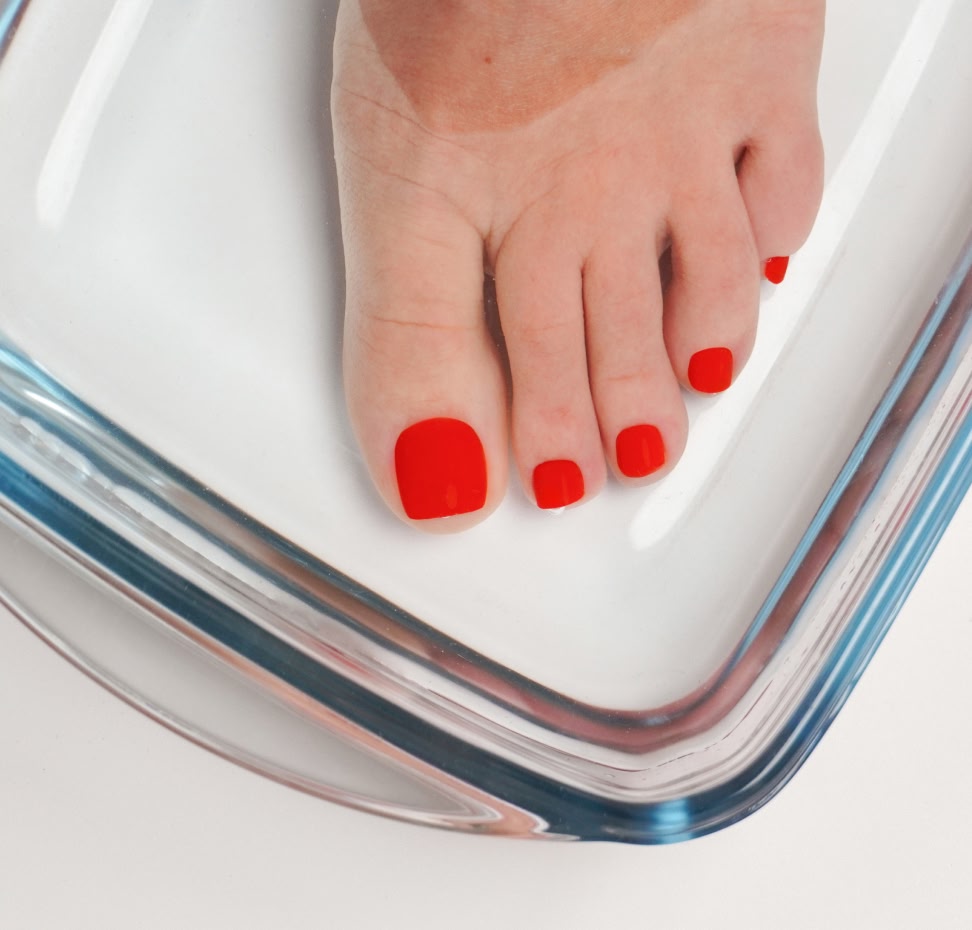
Roughen and clean natural nails
Gently buff the surface of your toenails with the buffer, carefully removing the thin layer of cuticle at the base of the nail plate. Then remove any dust and residue with the cleaning cloth.


The more thoroughly you prepare your toenails, the longer and better your Soft Gel Press-On pedicure will last! It is particularly important to push back the cuticles carefully and to clean the nail surface thoroughly. We also recommend that you do not wash your feet or apply any cream or oil for about 30 minutes before application.
Choose the right size
Now choose the right size of press-on nails for your toenails. To do this, gently press the loose press-on nail onto your toenail. The correct size will lie flush with the edges of your natural nail. If necessary, you can carefully file the sides of the press-on nails to make them slightly narrower, so they fit your nail plate perfectly.

You can tell where the tip of the press-on nail is because it is slightly thicker than the base of the nail, or – in the case of smaller press-on nails – by the application aid.
Select application method
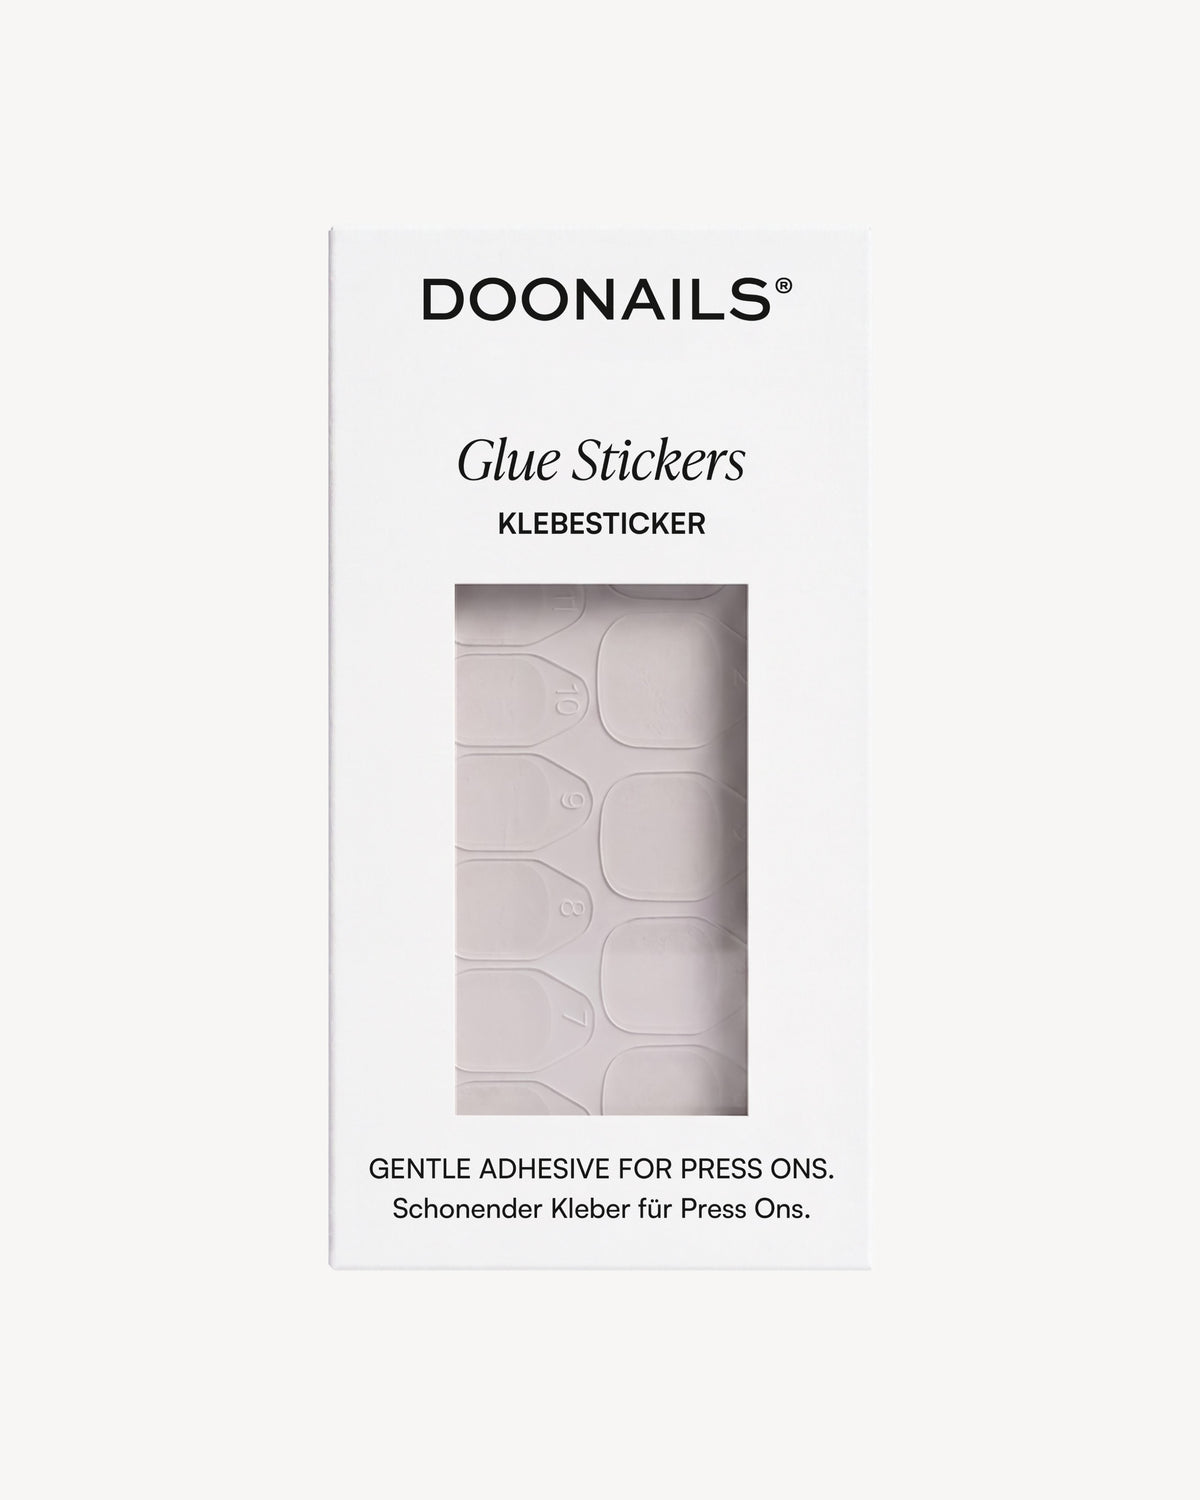
A. Adhesive stickers
Gentle, reusable & lasts up to 7 days: Choose the right size of sticker for your toenails. They should be neither too narrow nor extend beyond the natural nail. Apply the sticker (with the protective film still on) to the nail and press it down carefully. Make sure the sticker does not stick to the cuticle. Then use the rosewood stick or our Duo nail tool to remove any air bubbles and peel off the protective film.

You can also combine our adhesive stickers with our nail glue. The adhesive stickers generally stick to all sizes – but for very small press-on nails, you can optionally use the nail glue instead of the adhesive stickers for an even better hold.
B. Nail glue
Long-lasting & up to 14 days: Apply the nail glue generously to the adhesive surface of the press-on nail and also apply a thin layer to the natural nail. Make sure the nail glue does not get on the cuticles.

Please note that press-on nails cannot be reused once they have been applied with nail glue. If you would like to wear your press-on pedicure several times, we recommend using our adhesive stickers instead.
Apply the Soft Gel Press On
Place the selected press-on nail at a 45-degree angle against the base of the nail and gently press it down onto the toenail. Then press firmly for about 60 seconds to ensure optimal adhesion.

Remove the application guide
Press-on nails for smaller toenails come with an application aid to make them easier to apply to the natural nail. This should be filed down after the press-on nail has been applied. To do this, after pressing the press-on nail onto the natural nail for 60 seconds, snap off the tip of the application aid and gently file down the protruding edge.