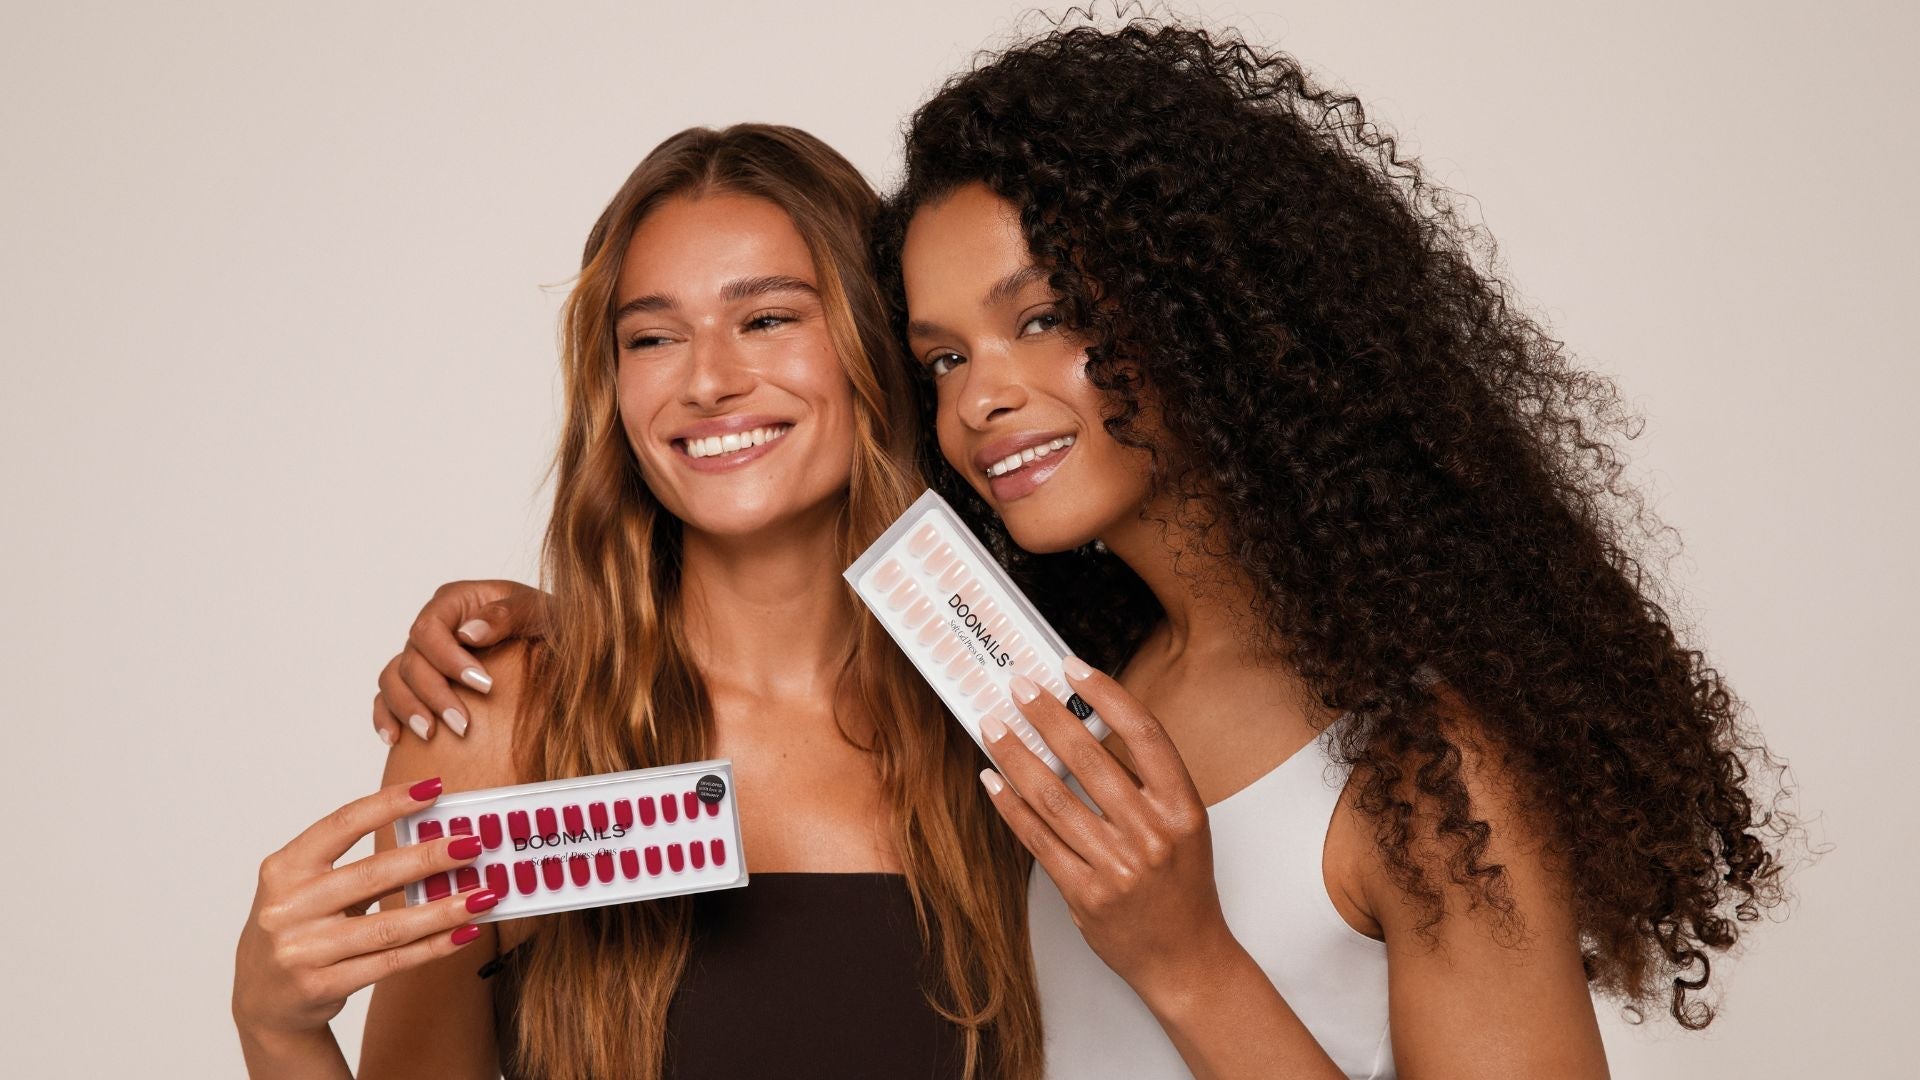


Our Soft Gel Press Ons are true game-changers when it comes to achieving stunning nails in no time — no hassle, no salon visit.
And while they’re super practical and versatile, there are a few common mistakes that can make all the difference in how long they last and how great they look.
The good news? With a little know-how and the right techniques, you can easily avoid these issues and make sure your Press Ons not only look flawless, but stay on for days. Here’s what to watch out for — let’s go! 💅
1. Skipping Nail Prep
Prepping your nails is like laying the foundation for a house — if you skip it, the whole structure is unstable. The same applies to any manicure, including Press Ons. Here’s what proper prep should include:
-
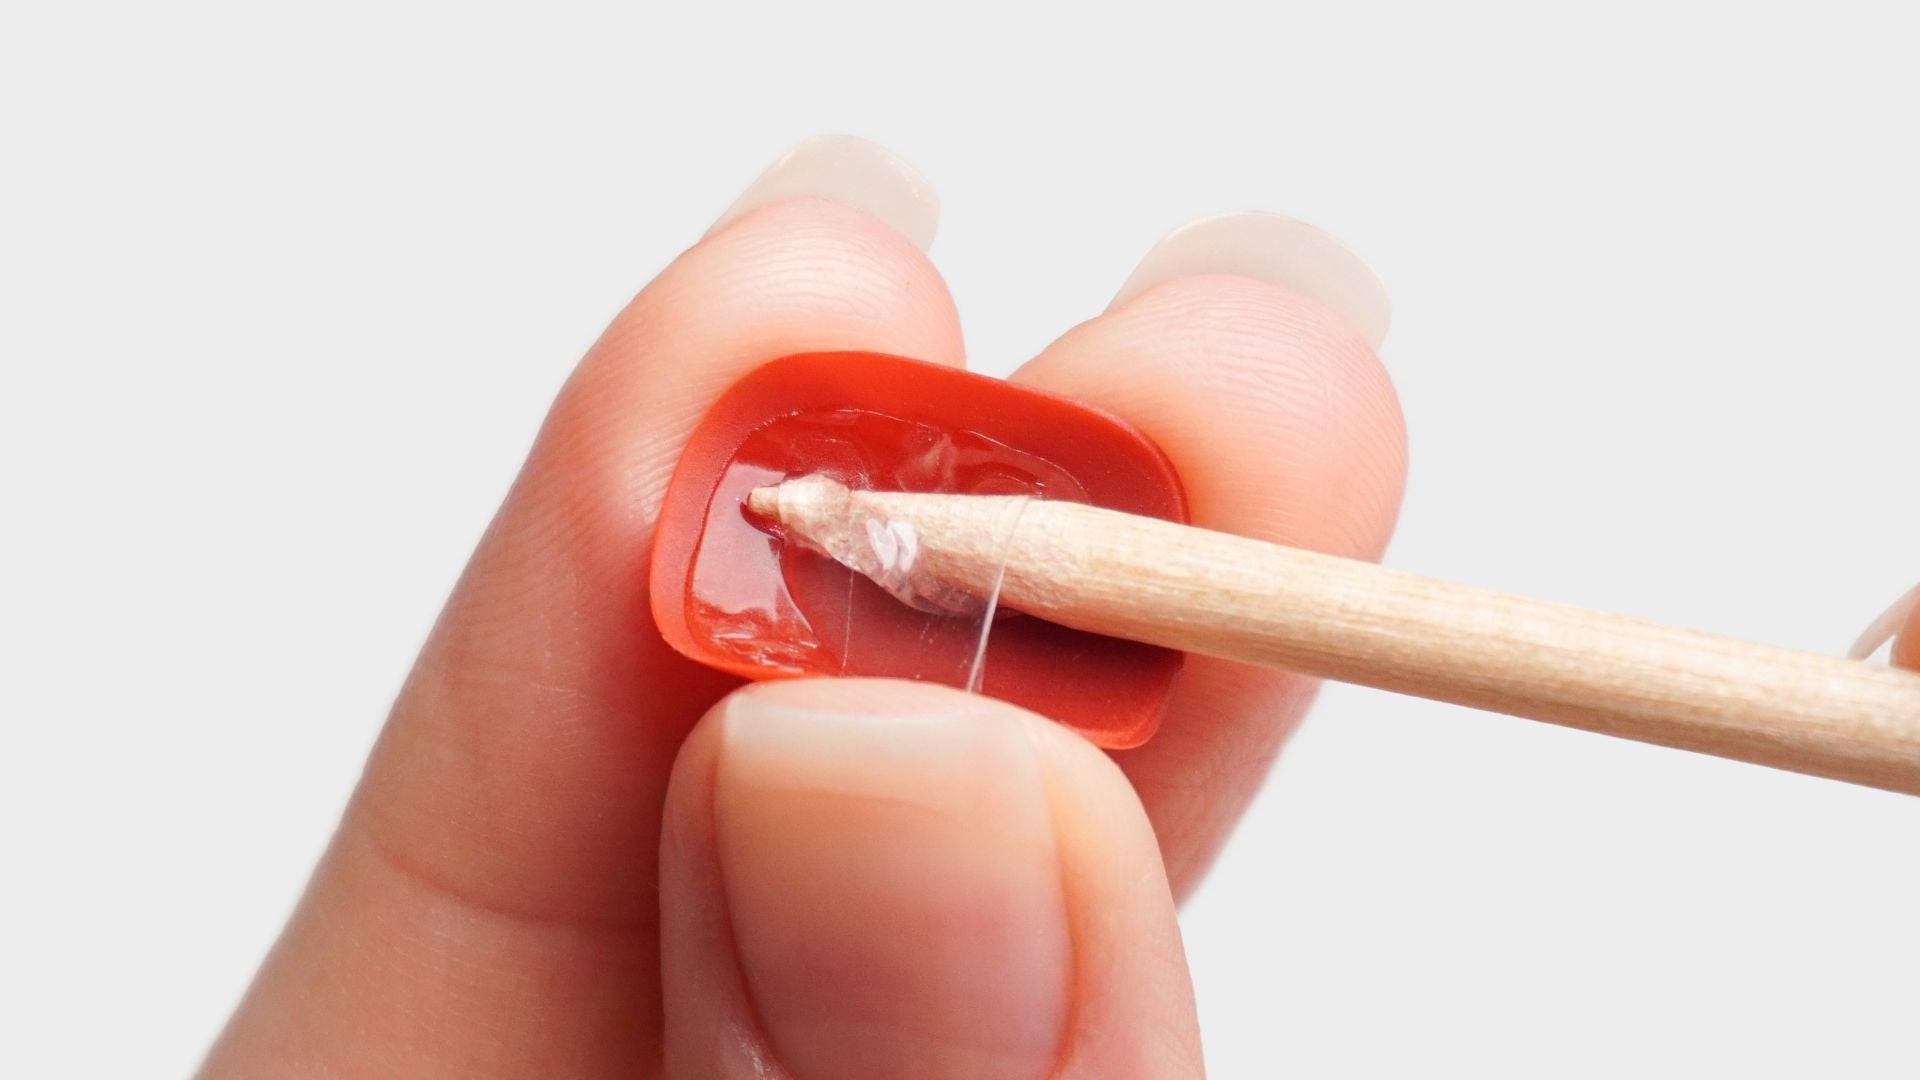
Gently push back your cuticles using the included orange stick
-
Remove the invisible cuticle layer at the base of your nail
-
Trim your natural nails if they’re longer than the Press-Ons
-
Buff your nail surface thoroughly to increase grip
-
Clean and dehydrate your nails using the cleaning pad or acetone
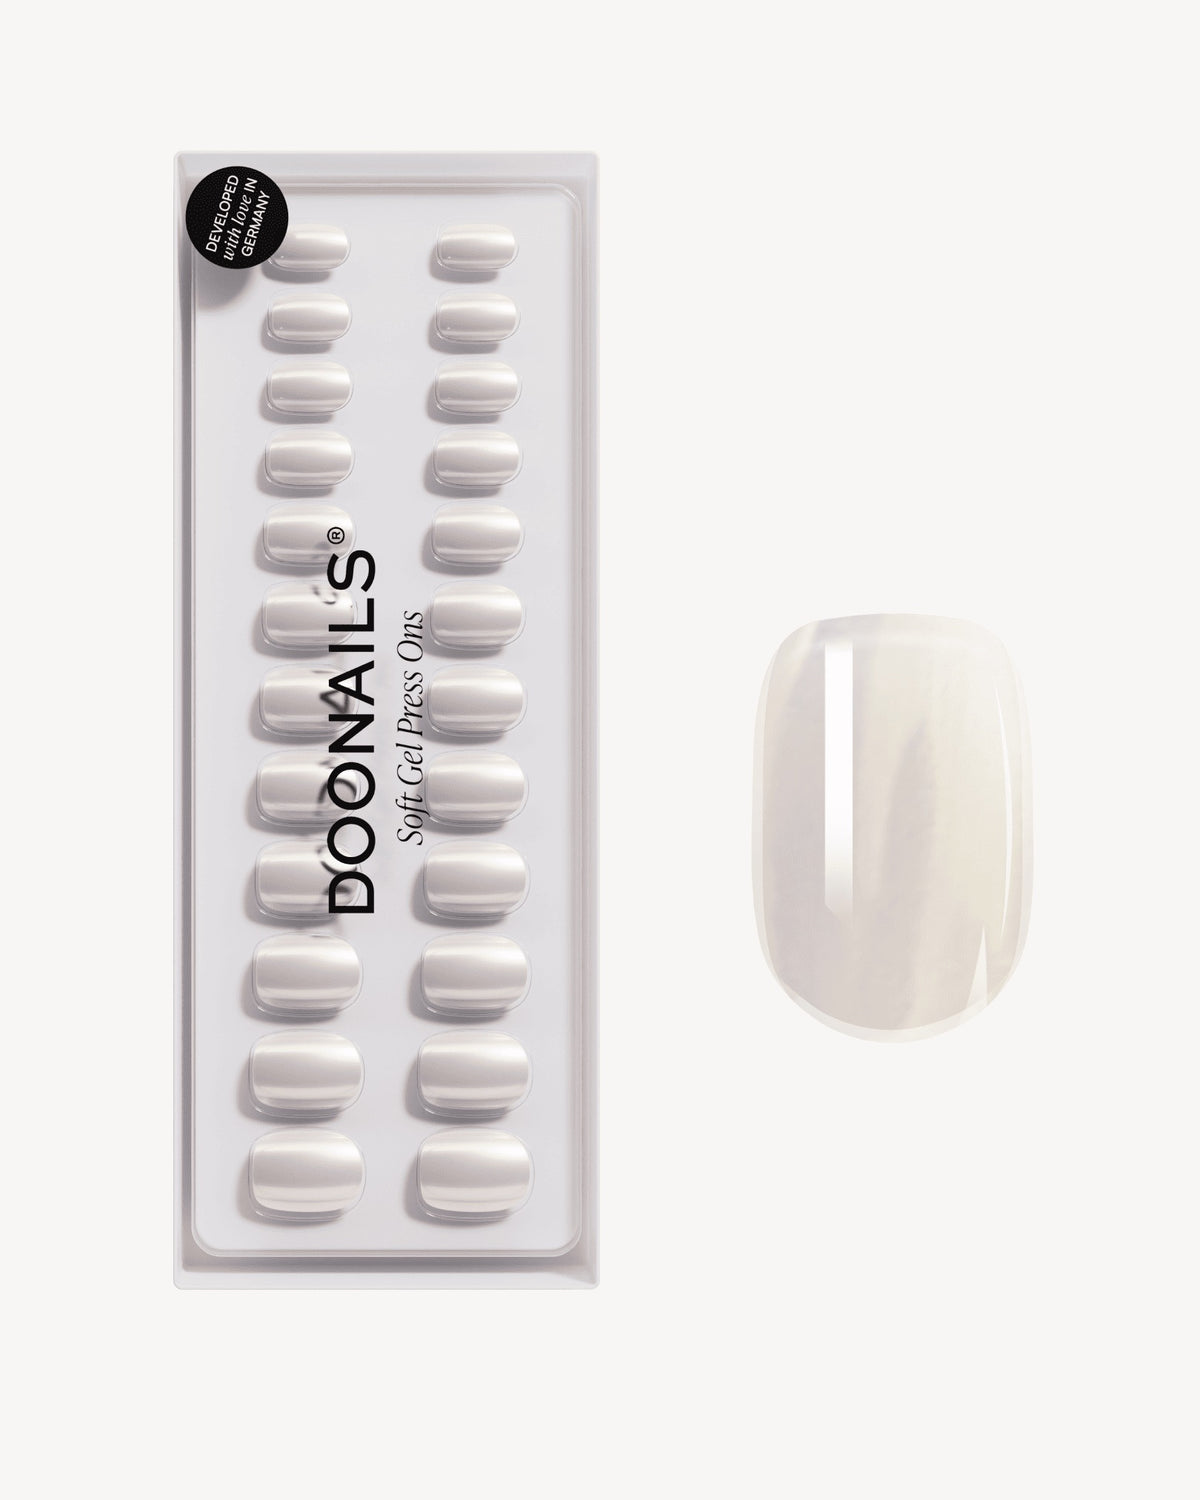
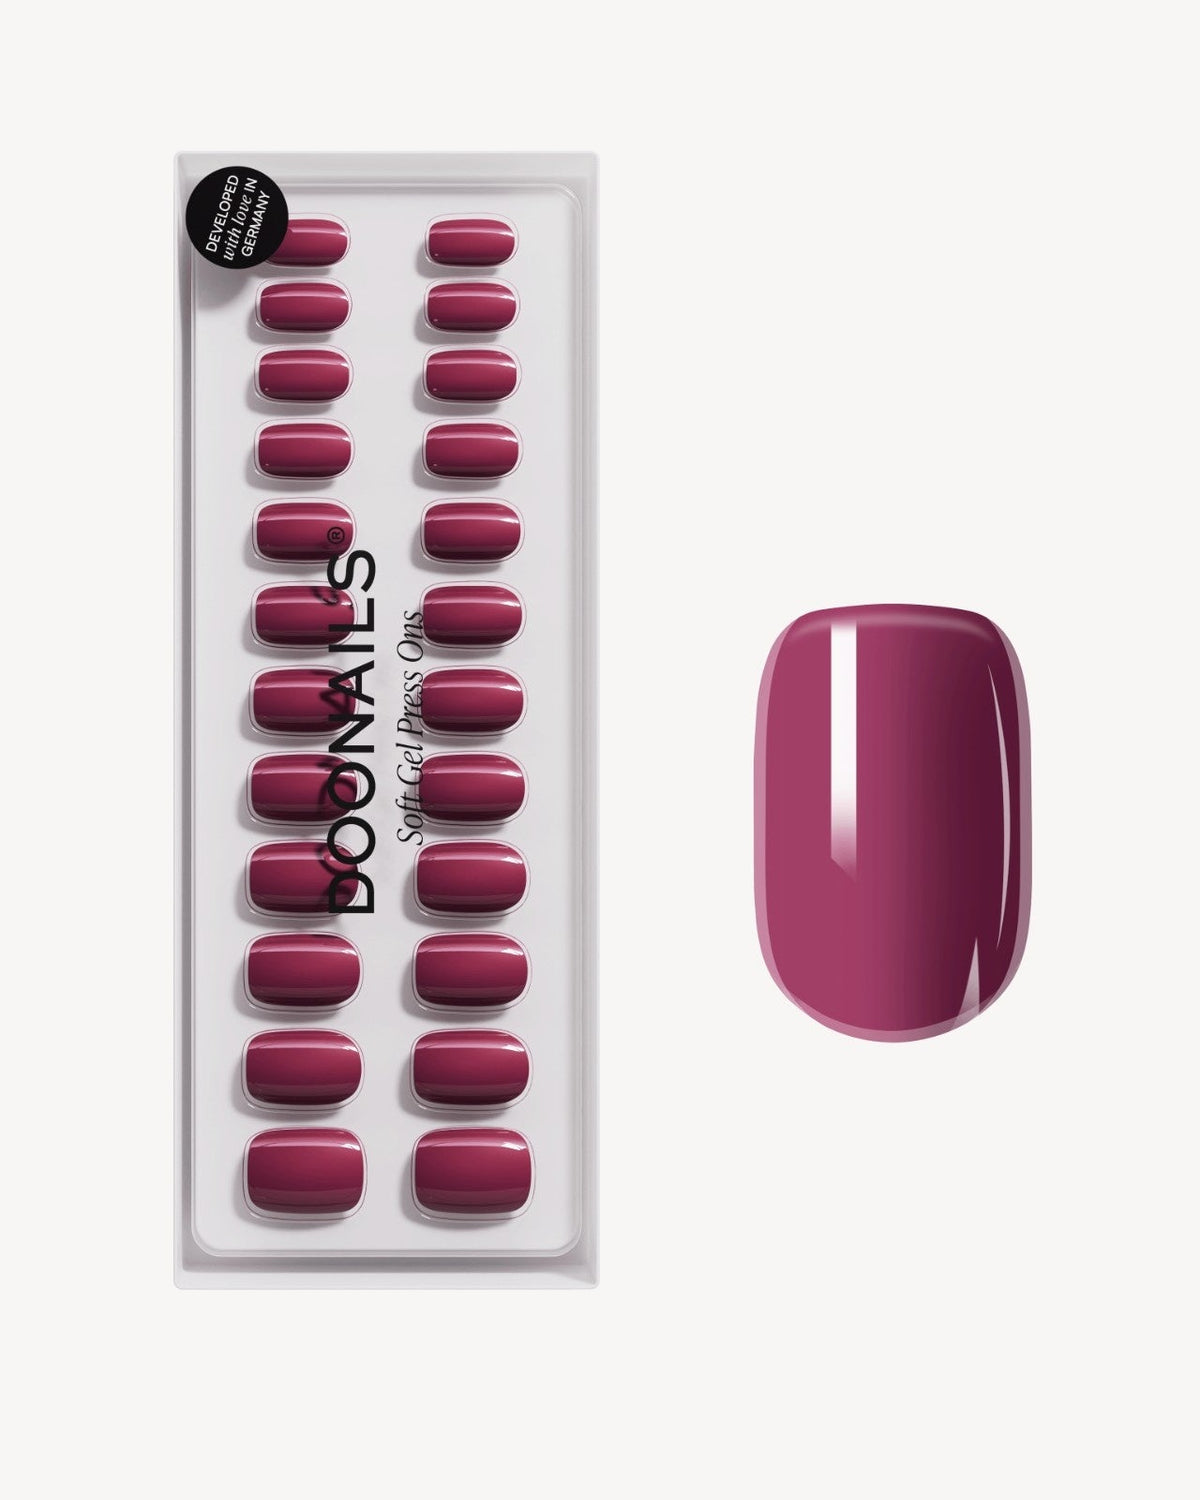
2. Using the Wrong Size Press On
Choosing the right size is crucial for a natural look, comfortable wear, and long-lasting results. If your Press-Ons are too large, they’ll overlap your skin and cuticles, making them uncomfortable, more likely to catch on things, and easier to lift or fall off. Too small, and parts of your natural nail remain visible — not only does that look off, but it also weakens the hold and can cause discomfort or even pressure pain.
Pro tip: It’s better to slightly file down a larger Press On than to wear one that’s too small.
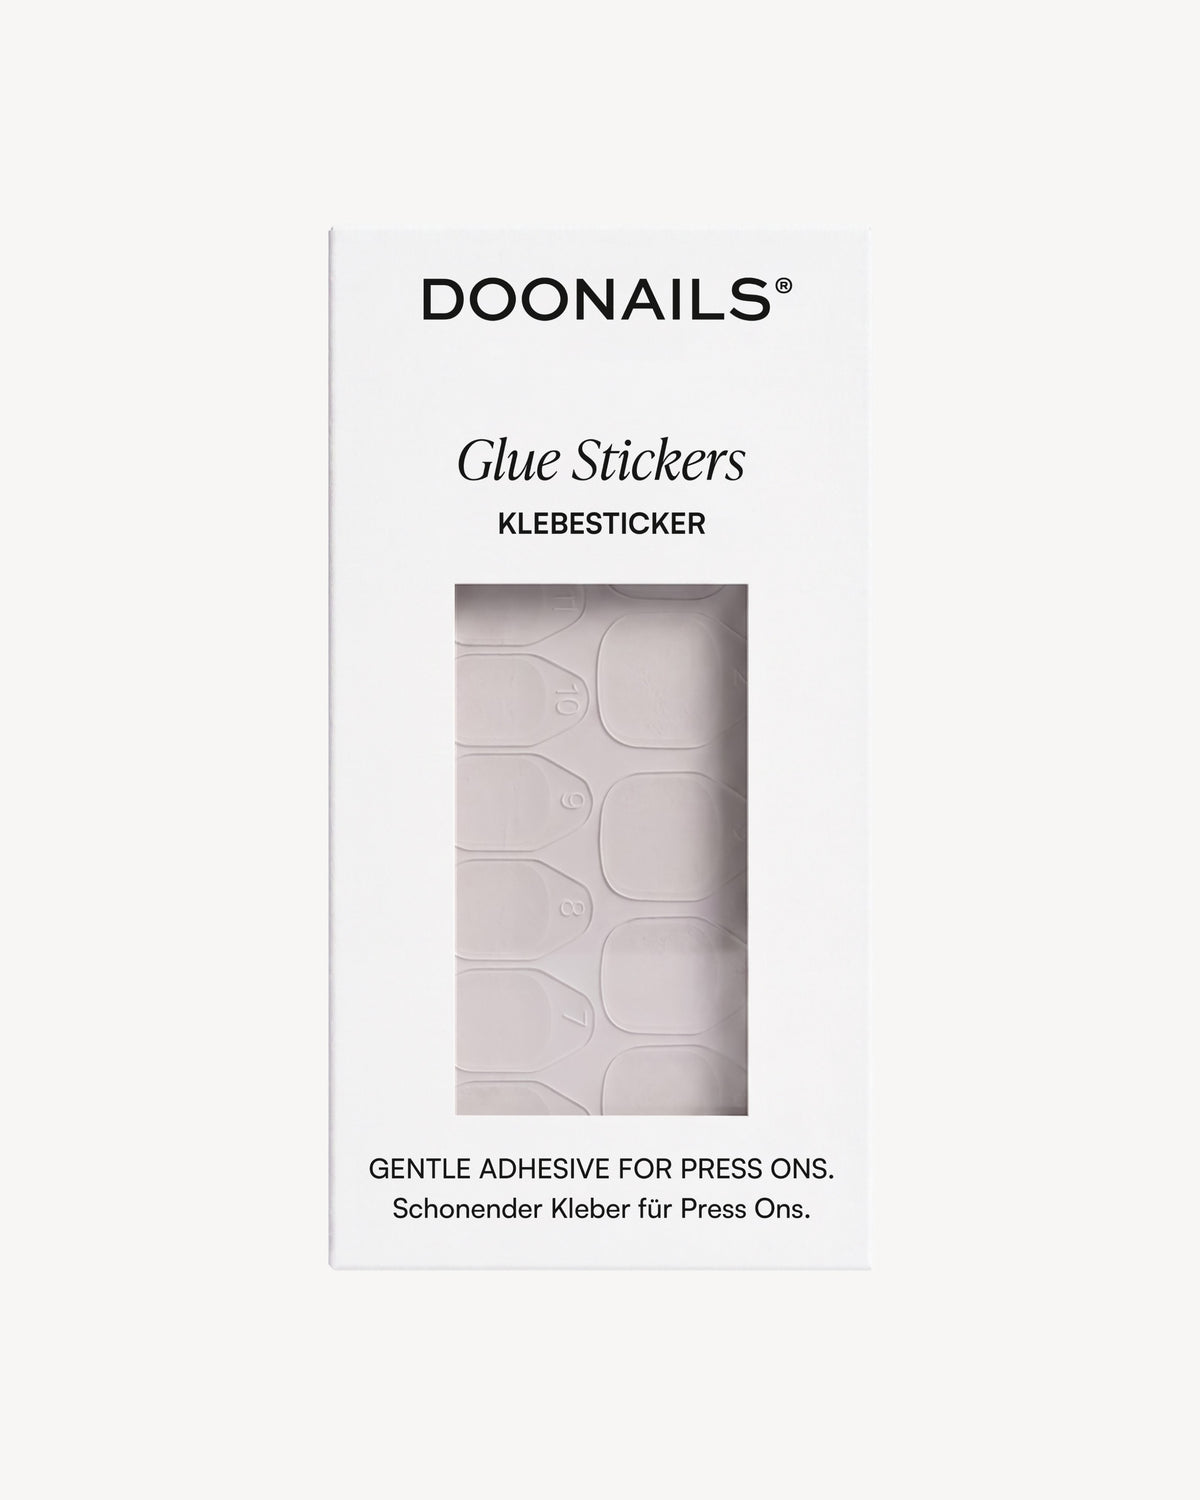
3. Not Pressing the Adhesive Tabs Firmly Enough
If you’re using the included adhesive tabs, be sure to press them firmly onto your nail. Use an orange stick to smooth out any air bubbles. This ensures the tabs mold perfectly to your natural nail, giving your Press Ons a strong, flush fit.
4. Using Too Little Glue
If you opt for nail glue and don’t apply enough, your Press Ons won’t last. Be generous and apply glue both to your natural nail and the underside of the Press On. That way, both surfaces can bond fully. Don’t be shy — skimping on glue can shorten the wear time significantly.
5. Press-Ons Placed Too Close to the Cuticle
It might be tempting to place the Press On as close to the cuticle as possible, but if you go too far or even touch the skin, it can lead to lifting and a less natural look.
Apply adhesive with a tiny gap between the Press On and your cuticle for the best result.
6. Press-Ons Placed Too Far from the Cuticle
On the other hand, placing the Press On too far from the base makes it look like your nails have already grown out. The sweet spot? A clean, minimal gap all around that looks natural and polished.
7. Press Ons Applied Upside Down
This one may sound obvious — but during a Netflix binge, it’s surprisingly easy to mix up the tip and base, especially with shapes like Short Square or Extra Short Square.
Here’s how to tell the difference:
When you take a Press On out of the package, look for the tiny “nub” — that’s the break-off point from production and marks the tip of the nail. You can gently file it off after applying.
If you’re reusing the Press-On and the nub is already gone, check for a slightly thicker edge — that’s the tip.
Bonus tip: You’ll also see a tiny number underneath at the tip — that marks the size and the correct orientation.
8. Incorrect Aftercare
Even though our Press Ons are quick and easy, proper aftercare makes a big difference.
Avoid washing your hands or doing heavy-duty tasks for at least 30 minutes after application. This gives the adhesive time to bond fully with your natural nails and extend the life of your manicure.
Final Thoughts
Soft Gel Press Ons are a fantastic way to switch up your nail look quickly and easily. And with just a few small tricks, you can avoid common mistakes and enjoy longer-lasting, more professional-looking results.
We’re confident this guide will help you get the most out of your next Press On mani — now go ahead and show off those gorgeous nails! 💅✨