


Want your Soft Gel Press Ons to stay flawless for longer? The secret lies in applying the adhesive tabs properly. With this simple step-by-step guide, you’ll get a salon-quality manicure at home in no time!
Why Proper Application of Adhesive Tabs Matters
The way you apply your adhesive tabs plays a major role in how well your Press Ons hold. If the tabs aren’t placed correctly, your nails may lift too early or form air bubbles that ruin the look.
With the right prep and placement, you can take your at-home manicure to the next level!
Step 1: Prep Your Natural Nails
A clean and well-prepped nail surface is key to long-lasting results:
-
File your nails into the desired shape.
-
Gently push back your cuticles with a manicure stick.
-
Lightly buff the surface of your nails to improve adhesion.
-
Remove the thin cuticle layer at the base of the nail plate.
-
Clean and dehydrate your nails with a cleansing wipe.
💡 Pro tip: A completely oil-free nail surface helps the adhesive tabs stick better!
Step 2: Choose & Apply the Adhesive Tabs
-
Select the right tab size – it should fit your nail without overlapping the edges.
-
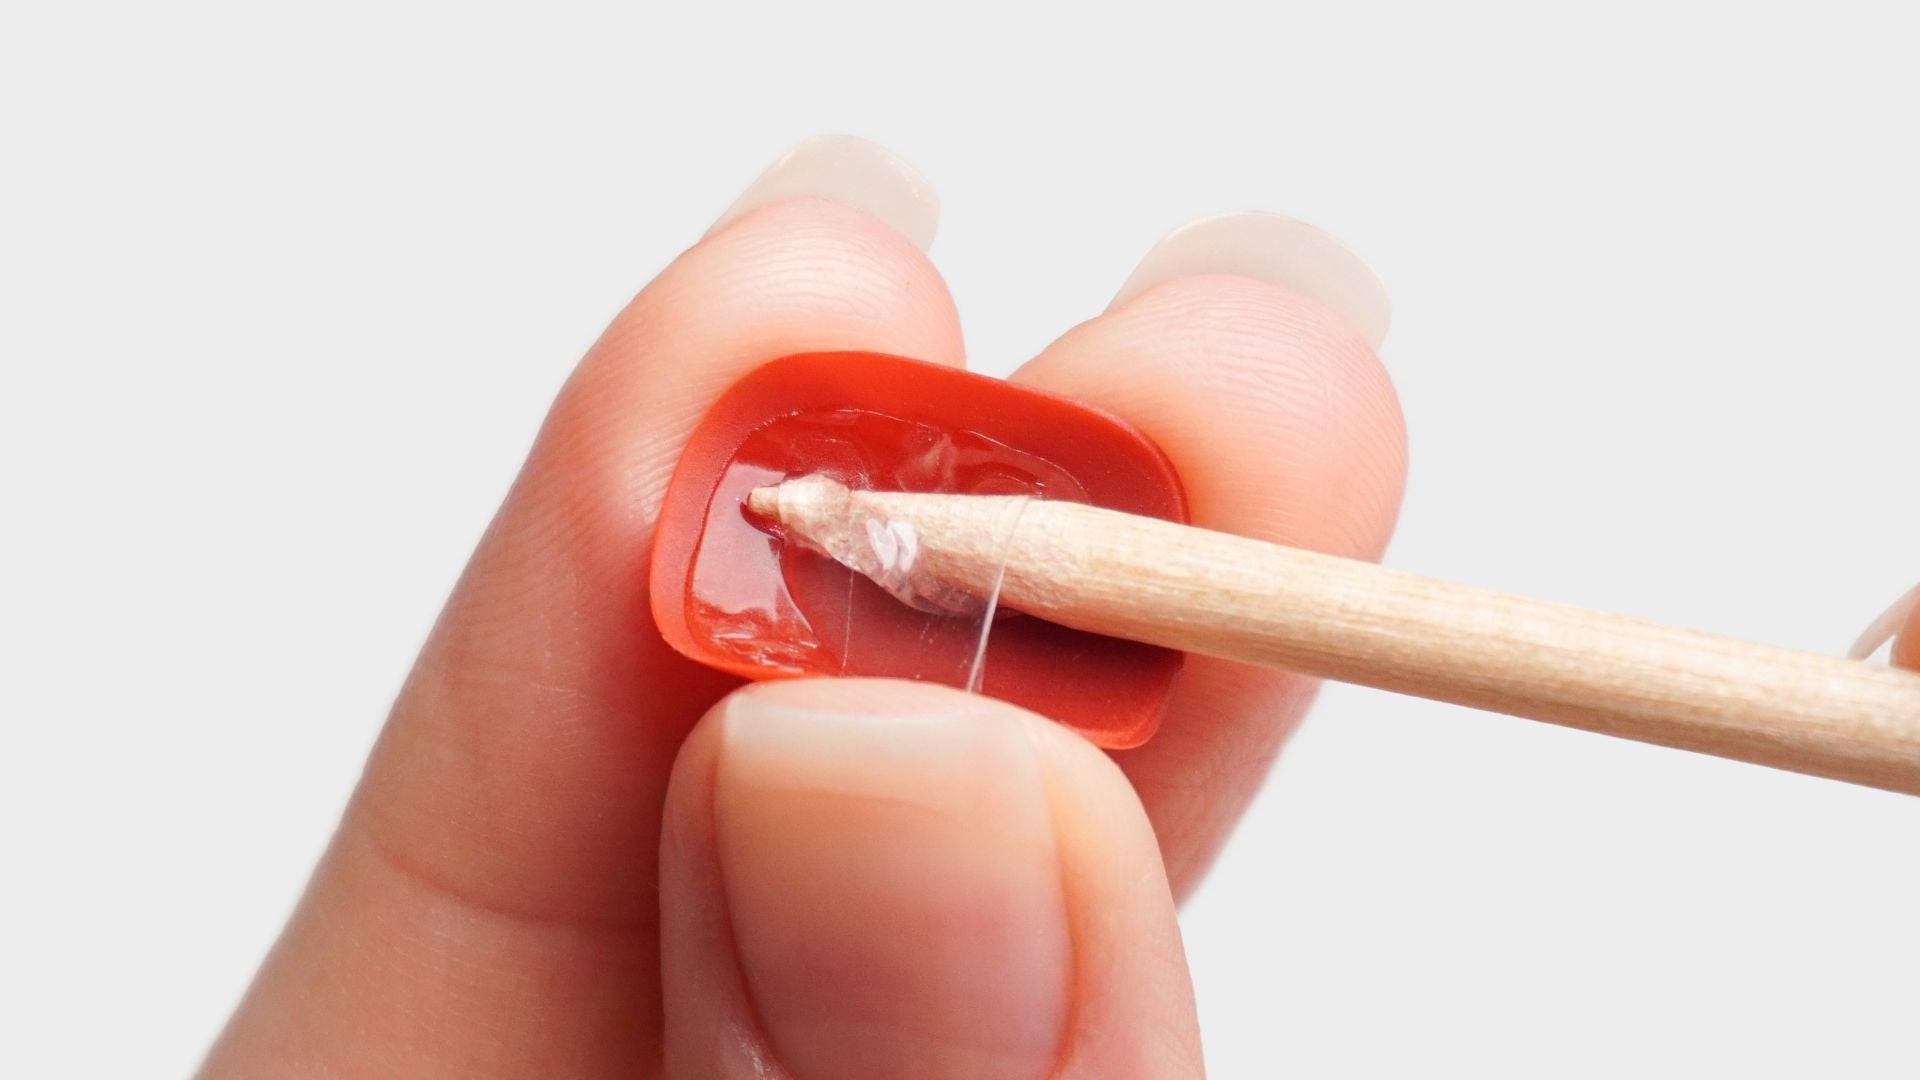
Place the tab with the protective film as close to the cuticle as possible and press it down firmly.
-
Make sure the tab doesn’t touch the skin or cuticle.
-
Smooth out any air bubbles using an orange stick.
-
Carefully peel off the protective film.
💡 Pro tip: If you accidentally choose a tab that’s too big, you can carefully trim it with small scissors.
Step 3: Apply the Soft Gel Press Ons
-
Position the Press On at a 45-degree angle starting at the cuticle.
-
Slowly press it down onto the nail using gentle pressure.
-
Hold and press firmly for around 10 seconds to secure it in place.
💡 Pro tip: Avoid using your hands right away after applying. Give the adhesive a few minutes to fully bond to your natural nails.
Tips for Long-Lasting Results
-
Avoid water contact for the first few hours after application.
-
Wear gloves when doing household chores to protect your nails.
-
Gently remove any residue with an oil-free nail polish remover before applying new Press-Ons.
-
If one nail comes off early, you can reapply it with a fresh adhesive tab.
Final Thoughts
With just a few simple steps, you can achieve a professional-looking manicure that not only looks amazing but also lasts! Whether it’s for a special occasion or everyday wear, Soft Gel Press Ons offer a fast and easy way to upgrade your nail game.
Give it a try and enjoy gorgeous nails in minutes! 💅✨