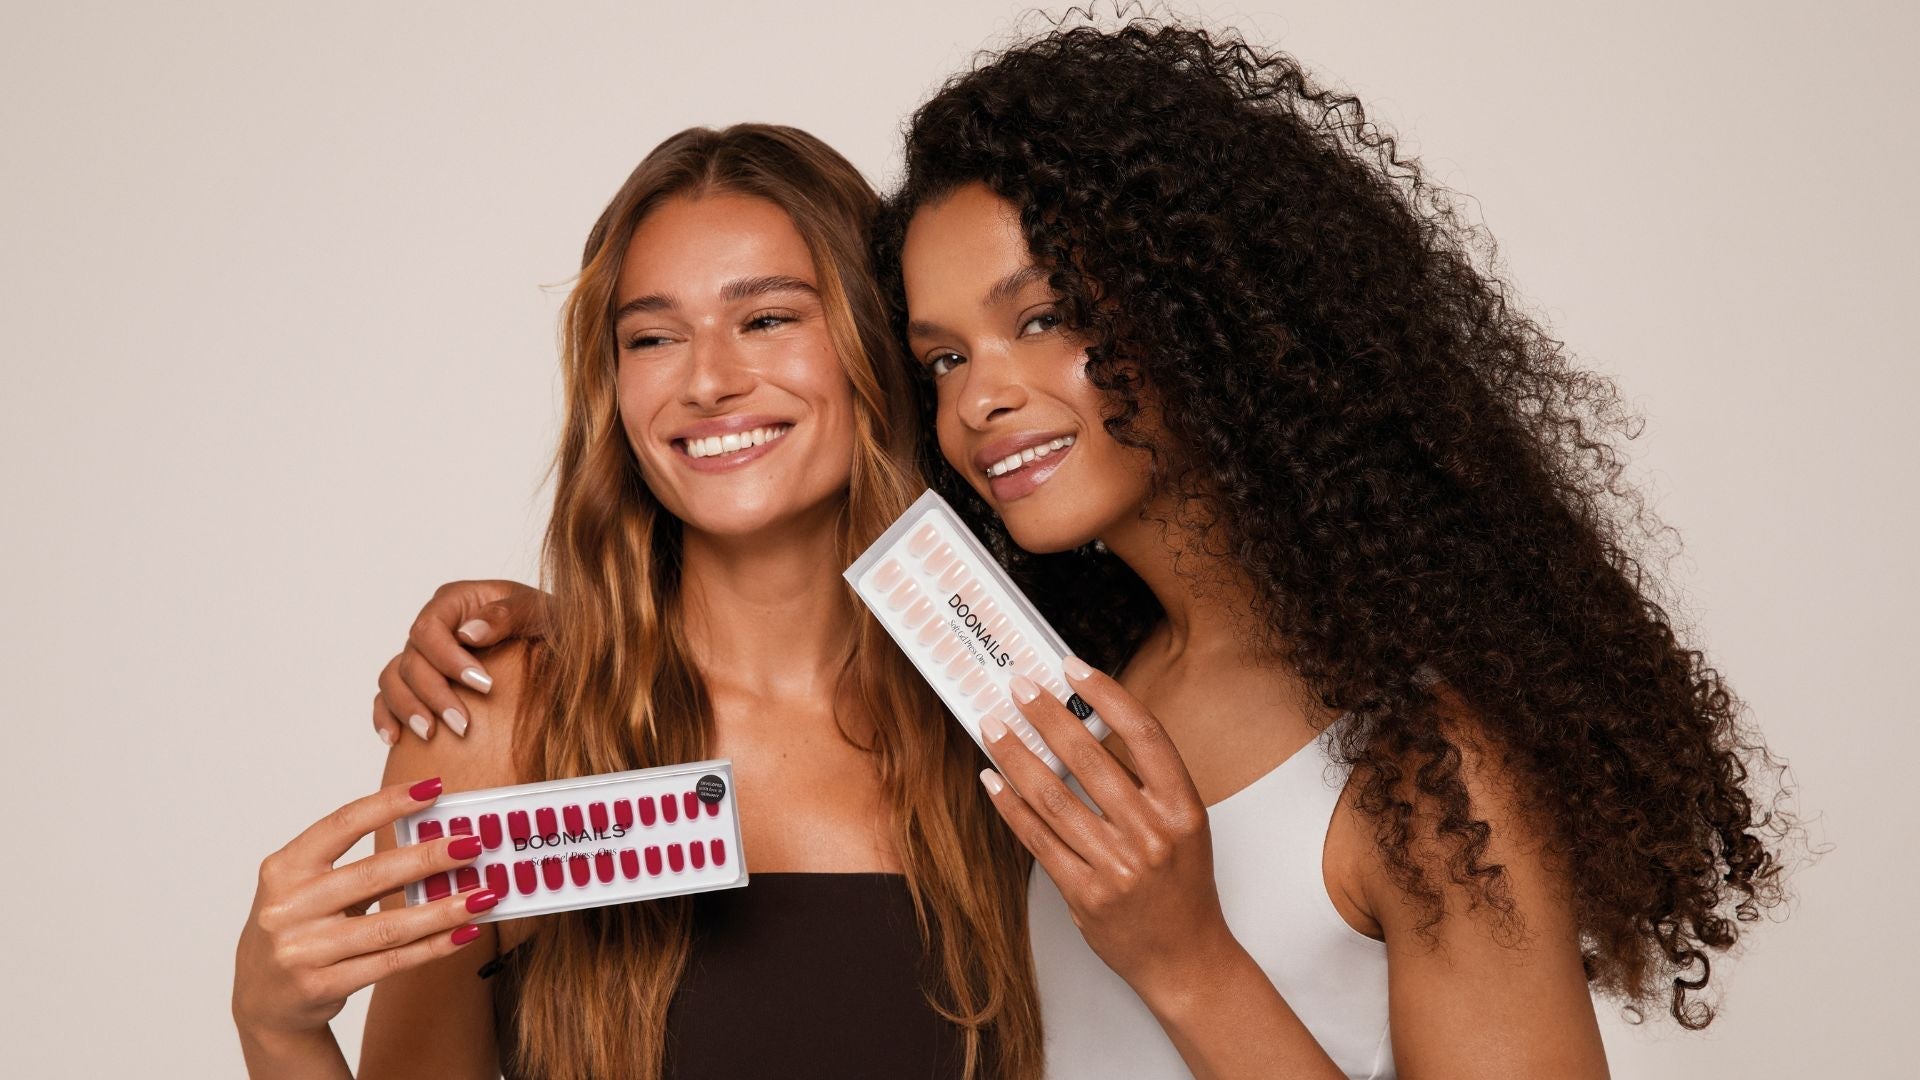


Press On Nails have long been more than just a short-term trend. More and more people are choosing press-ons to wear beautiful nails quickly, flexibly, and without going to a nail salon. Especially for beginners, many questions come up: What exactly are Press On Nails? Do they really stay on? Are they harmful? And how do I apply them correctly?
In this guide, you’ll get an honest, easy-to-understand, and practical introduction to the world of Press On Nails – from the basics and typical beginner mistakes to colors, shapes, and durability.
What Are Press On Nails, Exactly?
Press On Nails are artificial nails that you glue on and can apply yourself within just a few minutes. Unlike classic gel nails or acrylics, you don’t need UV light, an electric file, or any prior experience.
The nails are attached to your natural nail either:
- with adhesive tabs (flexible & reusable)
- or with nail glue (especially long-lasting)
Modern press-ons – especially those made from soft gel material – feel lightweight and natural and are visually almost indistinguishable from professionally done gel nails.

Press On Nails vs. Gel Nails – Which Is Better?
One of the most common beginner questions is the comparison: Press On Nails or gel nails? The answer depends on how flexible you want to be and how sensitive your nails or skin are.
Gel Nails:
- Done in a nail salon or with a lot of effort at home
- Require UV light
- Are long-lasting (up to 4 weeks)
- Time-consuming & more expensive
- Removal can stress the natural nail
Soft Gel Press On Nails:
- Applied within minutes
- No UV light or filing required
- Flexible wear (days to weeks)
- Ideal for events, everyday wear, or vacations
- Nail-friendly when applied correctly
Modern soft gel press-on nails are also a good alternative for anyone who reacts sensitively to classic gel. Our high-quality press-ons are vegan, cruelty-free, and HEMA-free, making them especially well tolerated. Press On Nails are also a suitable solution for people who are allergic to UV light or sensitive to certain ingredients.
Press On Nails are ideal if you’re looking for a flexible, fast, and well-tolerated alternative to classic gel nails – completely without UV light and long salon appointments.
How to Apply Press On Nails Correctly – Step by Step
Proper application is the most important factor for durability and comfort. The following steps show you how to apply Press On Nails correctly. If you’d like to see an even more detailed process, you’ll find a comprehensive guide including a video here.
Step 1: Prepare Your Natural Nails
- Gently push back cuticles
- Shape or shorten natural nails
- Lightly buff the nail surface
- Clean the nail surface with the cleansing wipe
→ This step often determines whether press-ons stay on – or not. We even recommend not washing your hands or applying cream or oil about 30 minutes before application.
Step 2: Choose the Right Size
- Choose the correct size for each finger by gently pressing the loose press-on onto the natural nail
- The correct size forms a clean line with the natural nail at the edges
- If in doubt, choose a slightly larger press-on and file the edges narrower to perfectly fit your nail plate
Our high-quality press-on packaging contains 30 different sizes to truly cover every nail type.

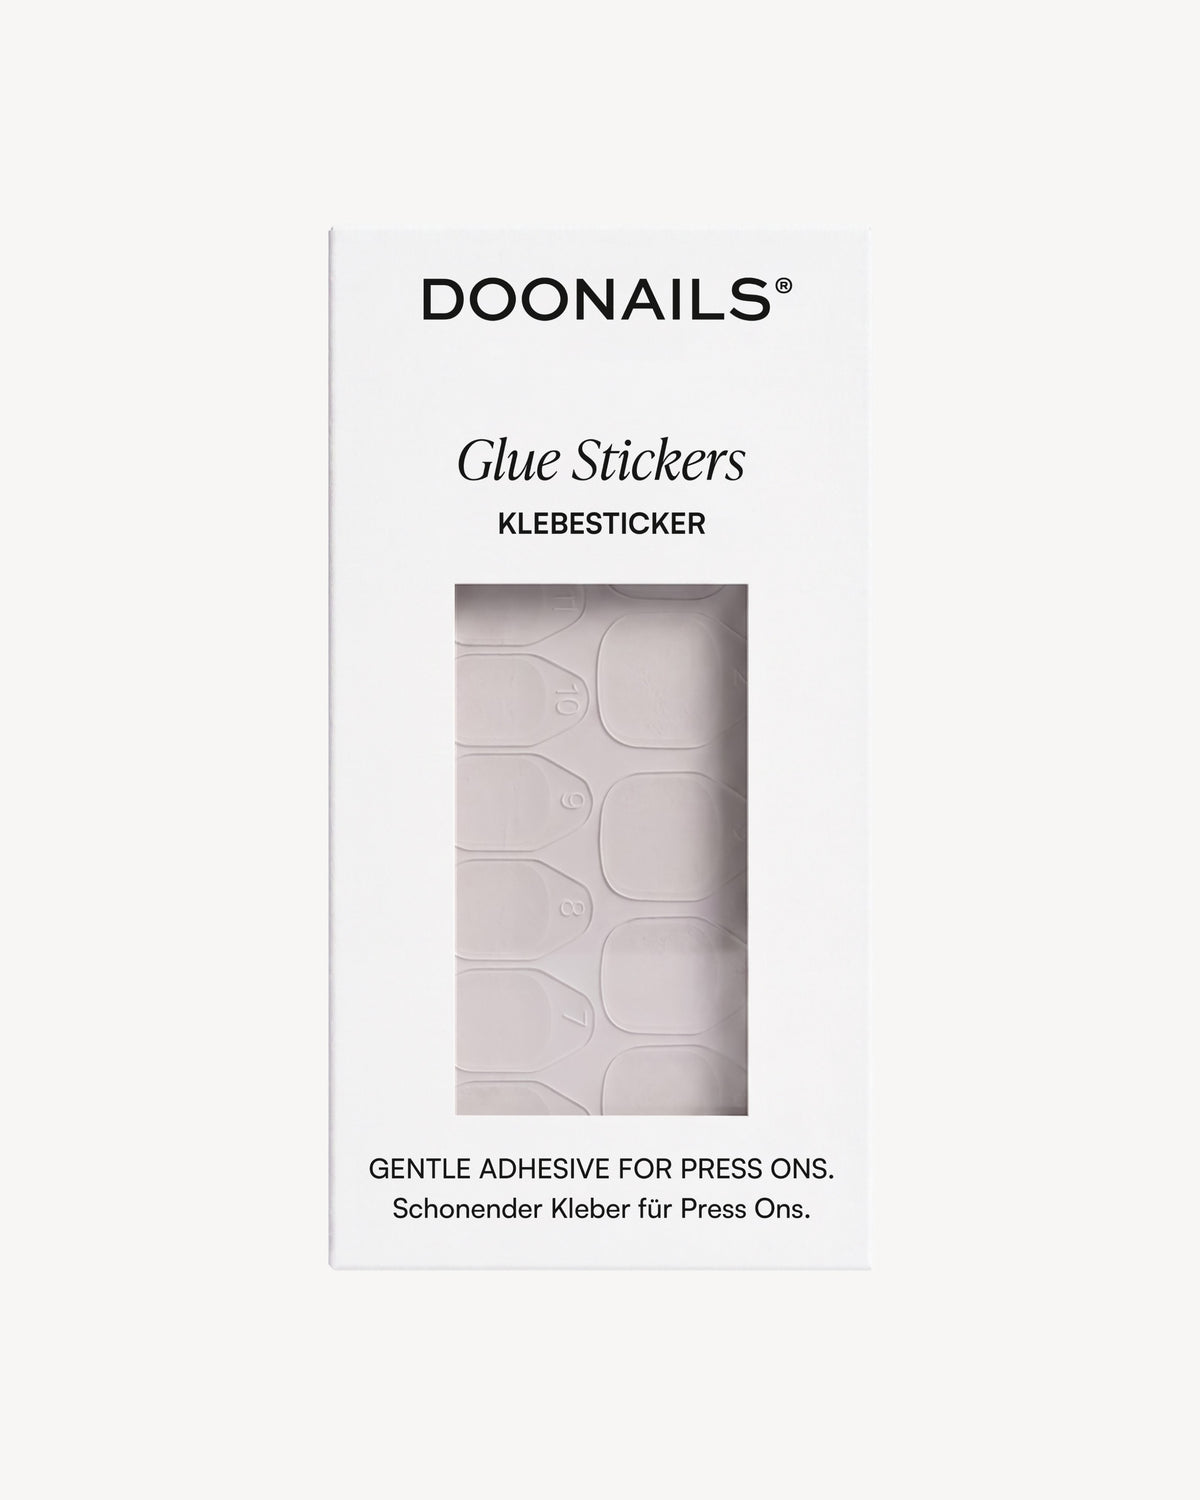
Step 3: Choose the Adhesive Method
- 3a) Adhesive Tabs:
- Last up to 7 days
- Perfect for beginners
- Ideal if you want to reuse the nails
- 3b) Nail Glue:
- Lasts up to 14 days
- Ideal for vacations & heavy wear
- Less flexible, but maximum hold

Step 4: Apply the Press On
- Place the press-on at a 45° angle at the cuticle
- Slowly lower it with gentle pressure
- Press firmly for about 60 seconds

Done. No filing, no UV light, no salon.
Why Don’t My Press On Nails Stay On?
- Nails not properly prepared: grease, dust, cream, or moisture on the natural nail prevent optimal adhesion.
- Wrong size chosen: press-ons that are too small are under tension; ones that are too large can lift at the sides and allow air under the adhesive surface.
- Not enough pressure during application: especially in the first few seconds, even and firm pressure is crucial for hold.
- Water contact immediately after application: after applying, we recommend avoiding water at first. Even one hour without water supports optimal adhesion of press-on nails. After that, washing dishes, showering, bathing, and heat are no problem.
In around 90% of cases, the issue isn’t the press-ons themselves, but nail preparation. A short visual guide can be especially helpful – in our nail preparation video, we show step by step what really matters.
Removing Press On Nails – Safe & Nail-Friendly
Proper removal is crucial to keep your natural nails healthy. The following steps show you how to remove Press On Nails gently. You’ll also find a detailed guide including a video here.
How to Remove Your Press On Manicure Correctly:
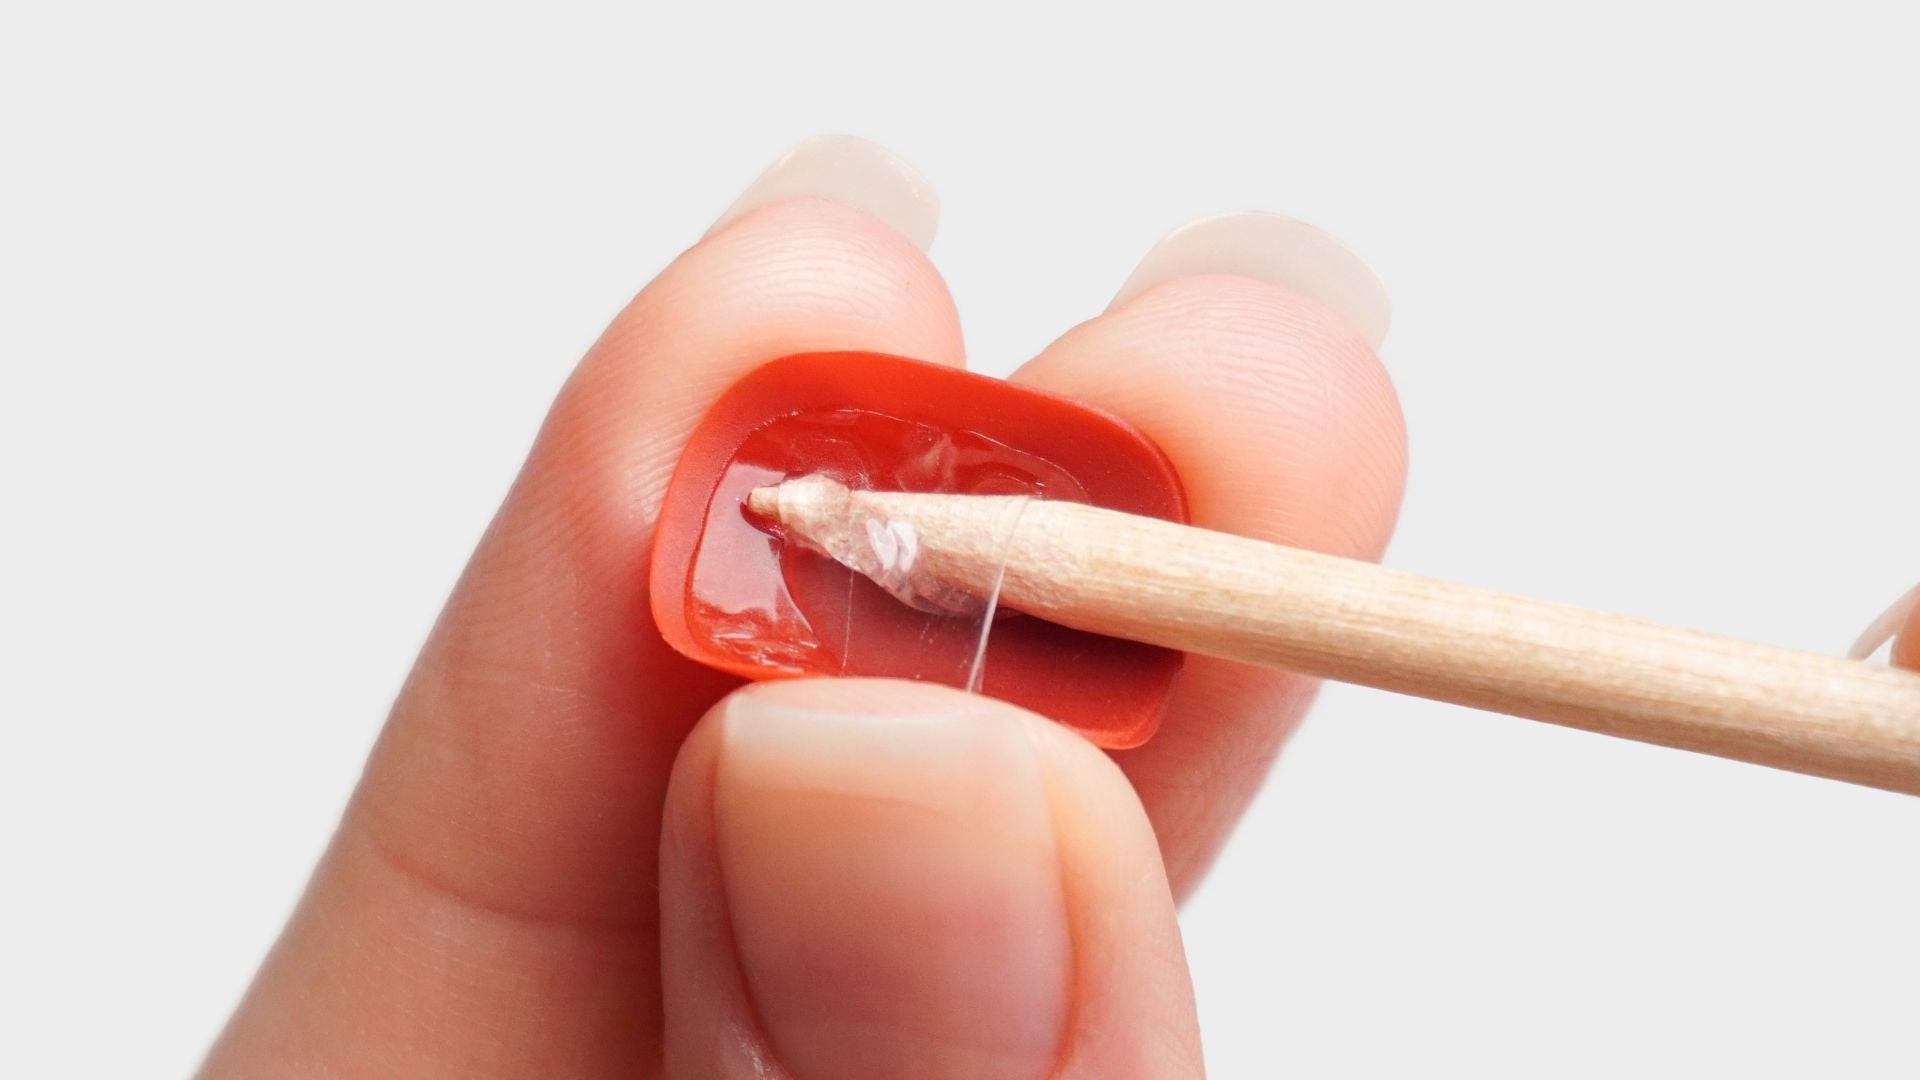
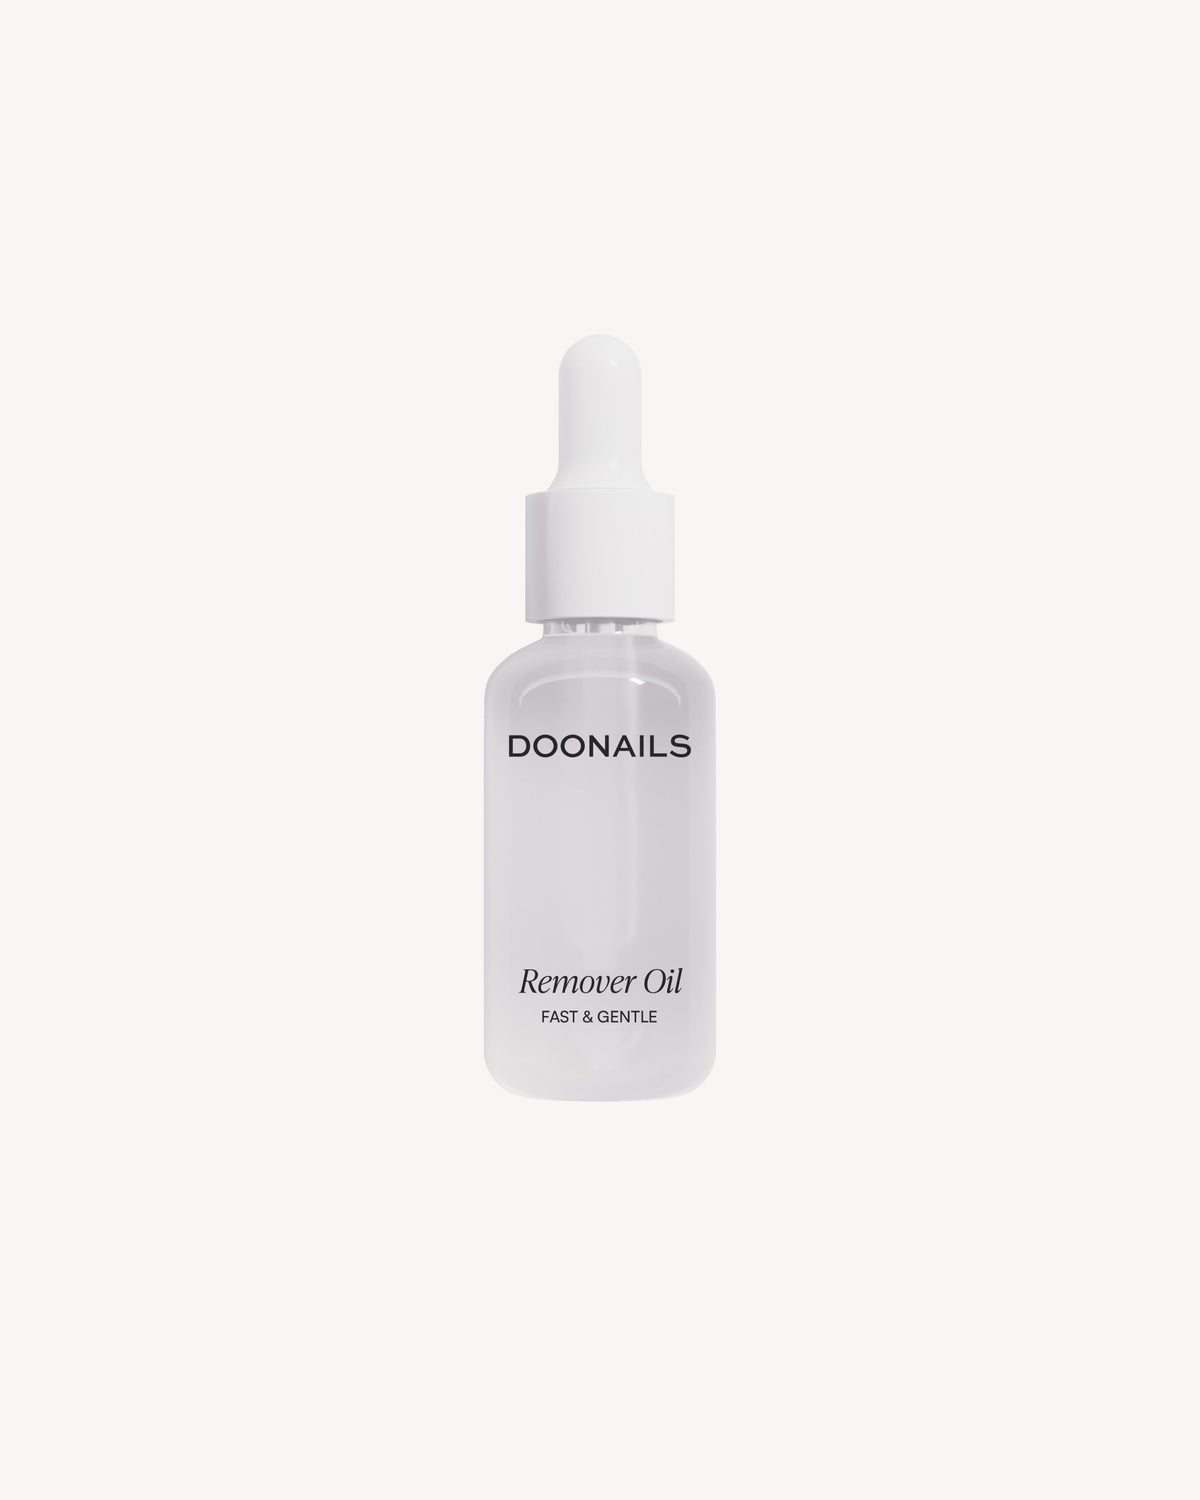
- Apply remover oil to the nail edges and massage it in. Then gently loosen the press-on edges with a wooden cuticle stick.
- Soak nails in an oil bath. Simply add warm water, 1–2 pumps of remover oil, and 2 pumps of soap to a bowl.
- After about 10 minutes, gently lift and remove the press-ons using the wooden stick.
- Remove glue residue from the natural nail and care for your hands with nail oil, nail serum, or hand cream.

With high-quality soft gel press-on nails, removal is especially gentle, as the flexible material releases more easily from the natural nail and does not break or split.
This also directly answers one of the most common press-on questions: Are Press On Nails harmful? No. When applied correctly and removed gently, your natural nails remain healthy – especially with soft gel press-ons that are free from plastic.
The Most Common Press On Beginner Mistakes – and How to Avoid Them
Especially at the beginning, small details often determine whether press-on nails last perfectly or come off too soon. The following points are among the most common beginner mistakes – but they’re easy to avoid.
-
Missing or Insufficient Nail Preparation
Proper nail preparation is the foundation for long-lasting press-ons. If it’s neglected, even the best glue can’t adhere properly. Make sure to:- Push back cuticles with a wooden stick
- Remove invisible cuticle at the nail base
- Shorten natural nails if needed
- Lightly buff the nail surface
- Thoroughly clean nails with a cleaning pad or acetone
-
Choosing the Wrong Press-On Size
Press-ons that are too large stick out at the sides, look unnatural, and catch more easily. Press-ons that are too small sit under tension, don’t fully cover the nail bed, and can cause pressure or even pain. The correct size fully covers the natural nail without pressure or overhang. If a press-on is slightly too large, you can carefully file the sides to fit perfectly. -
Not Pressing Adhesive Tabs Firmly Enough
When using adhesive tabs, even pressure is essential. Press the tabs firmly and remove air bubbles – for example with a wooden stick – so they adapt optimally to the natural nail. -
Using Too Little Glue
Applying too little glue causes press-ons to loosen more quickly. Apply glue evenly to both the natural nail and the underside of the press-on so both surfaces bond properly. -
Applying Press-Ons Too Close to the Cuticle
Applying press-ons too close to or even onto the cuticle increases the risk of lifting and an unnatural result. Keep a minimal, even distance from the nail edge – this helps nails last longer and look more natural. -
Placing Press-Ons Too Far from the Cuticle
If press-ons are placed too far from the nail edge, they quickly look “grown out.” The goal is a natural, even distance all around the nail. -
Applying Press-Ons Upside Down
Especially with short shapes, press-ons can accidentally be applied upside down. You can tell the correct orientation by the fact that the nail tip is slightly thicker than the base. Additionally, there is a small size number on the underside near the tip. -
Incorrect Aftercare After Application
Even after application, the glue needs a short setting time. Avoid water, heat, or heavy household chores during the first 30–60 minutes so the natural nail, glue, and press-on can bond optimally.
If you avoid these typical beginner mistakes, press-on nails will stay on reliably, feel comfortable, and look especially natural.
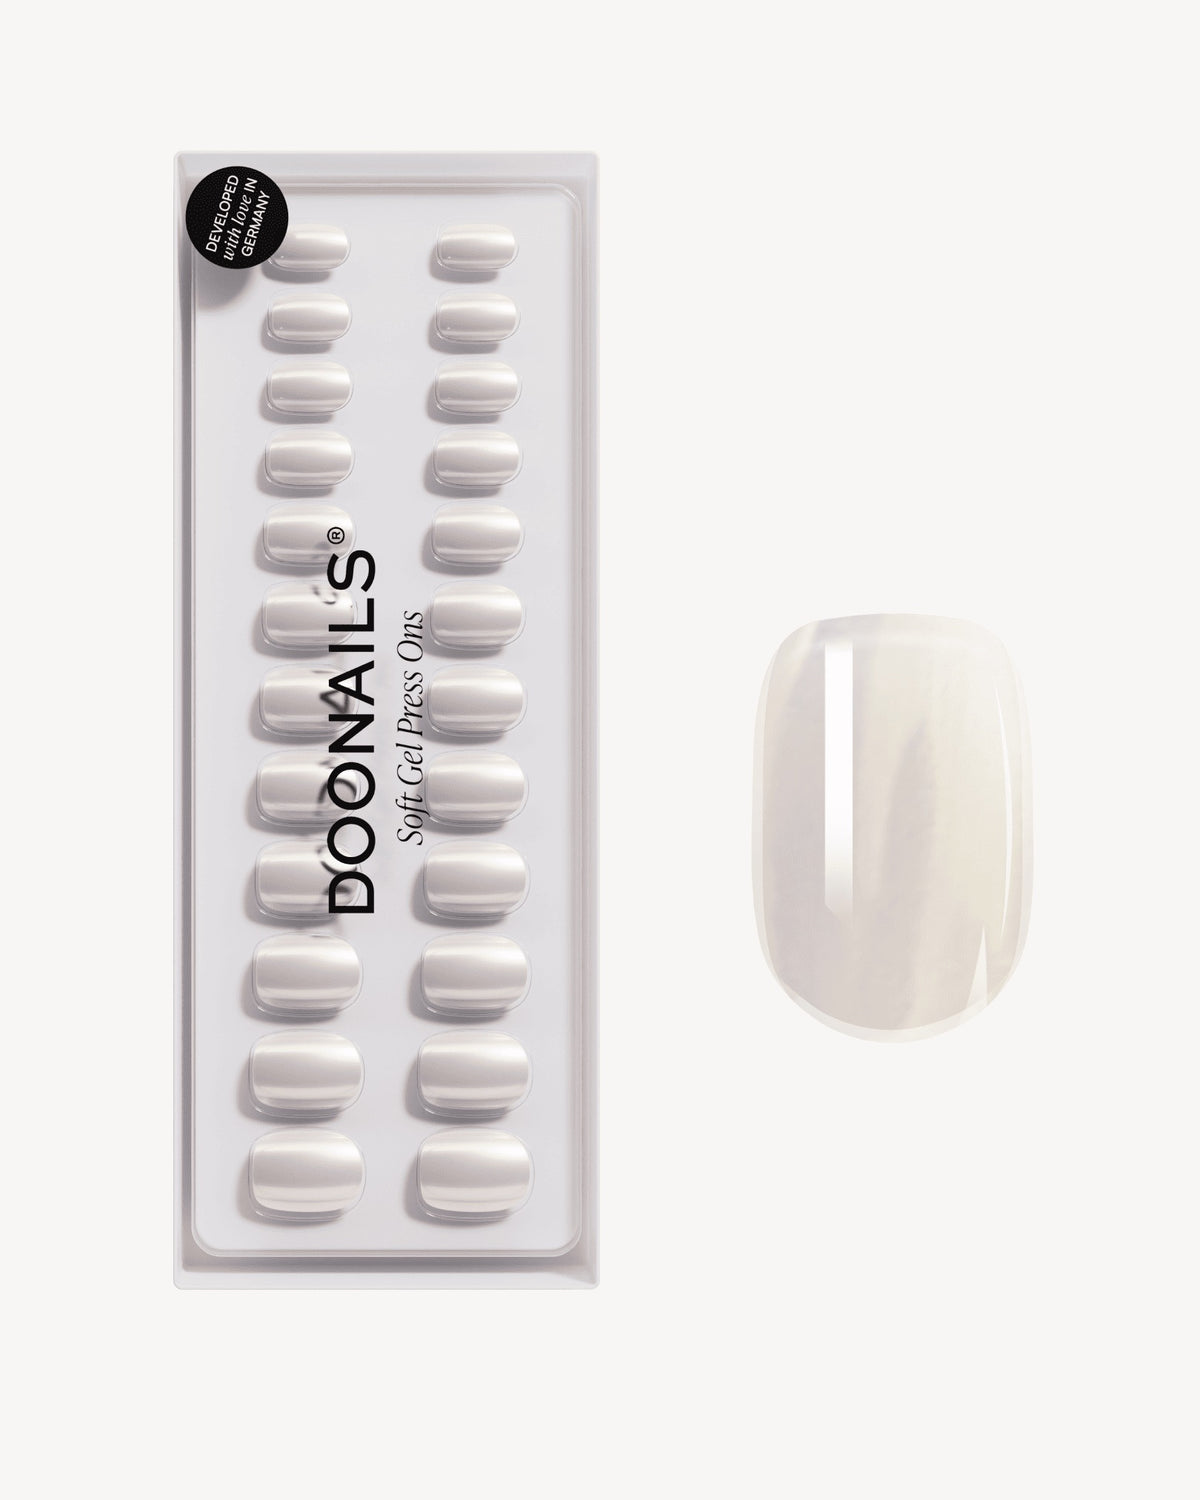
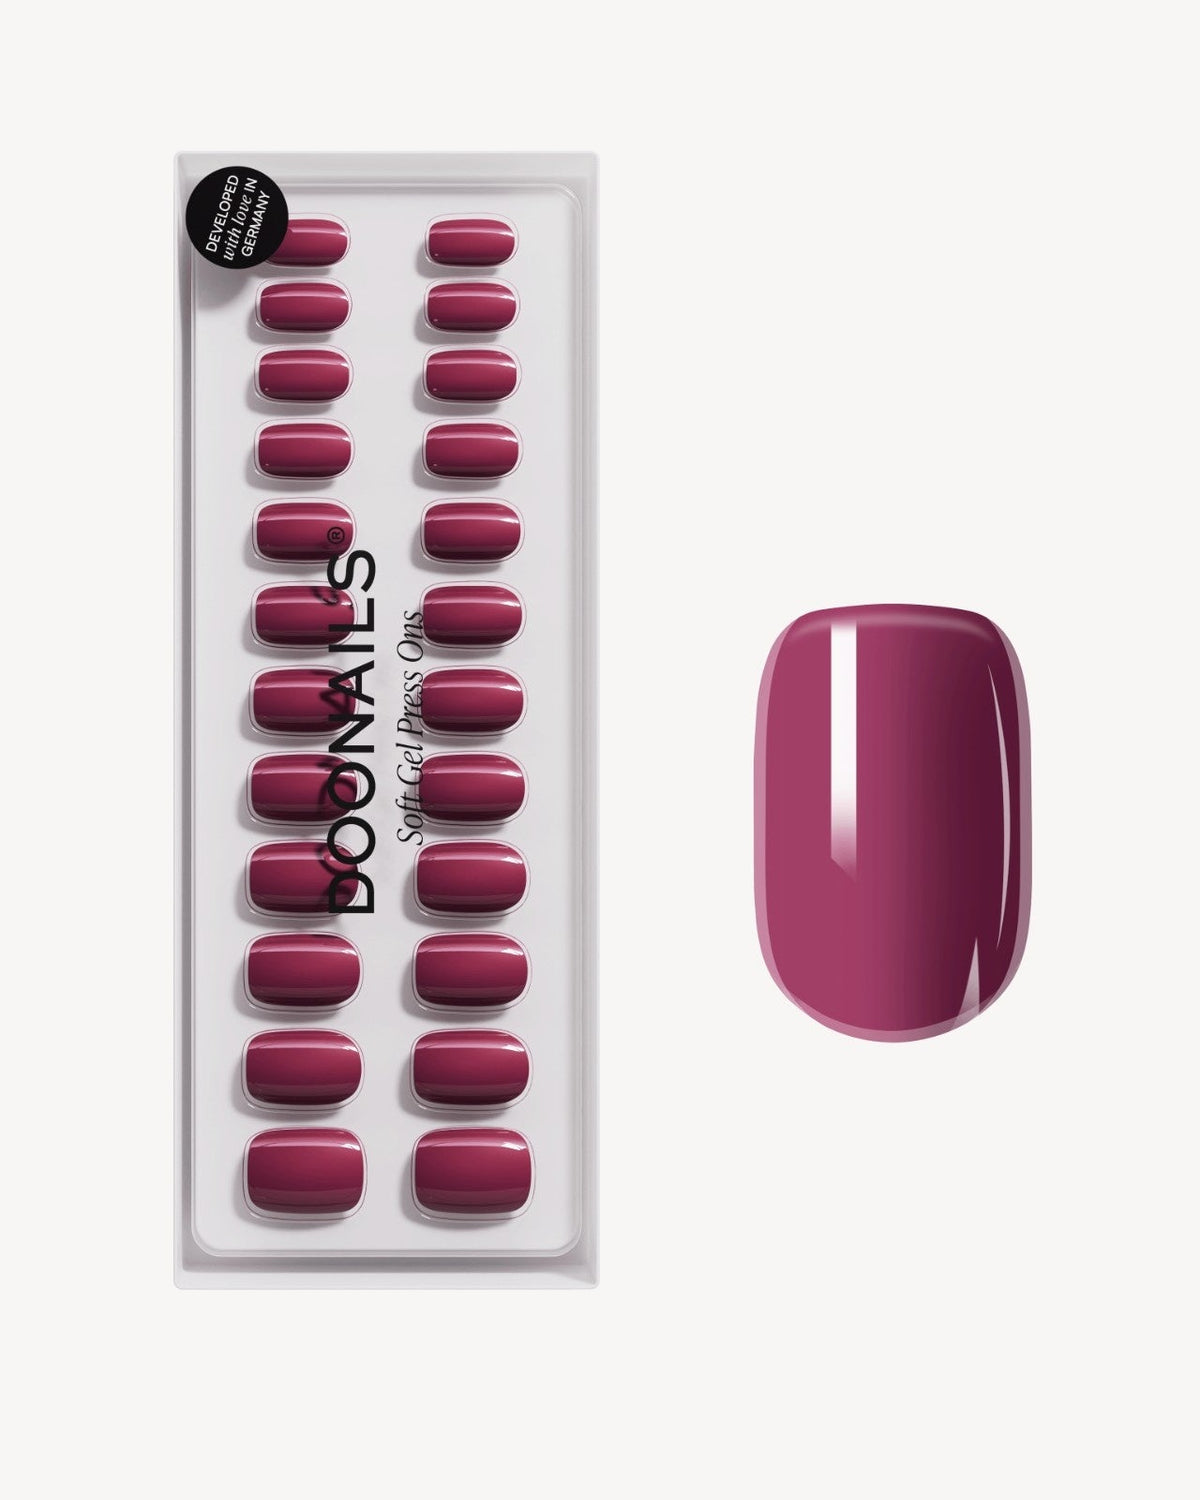
Colors, Designs & Shapes – What Suits You?
Press On Nails offer countless possibilities – from subtle to bold, from classic to modern. Colors, designs, and shapes can be chosen entirely based on your style, occasion, and personal taste. Skin tone can serve as a rough guideline but is by no means a strict rule.
Color Inspiration by Skin Tone
- Warm skin tone: warm nude shades, beige, gold, babyboomer, as well as bold colors like red, coral, or warm browns.
- Cool skin tone: white, cool pinks and lilacs, chrome looks, French, as well as bold colors like burgundy, blue, or berry tones.
- Neutral skin tone: the widest selection – from soft nudes and classic colors to statement designs, glitter, or eye-catching trend looks.
→ Most important: if you love a design and feel good wearing it, it suits you – regardless of your skin tone!
Popular Designs – From Classic to Trendy
Press On Nails offer the right design for every occasion and style. Timeless classics and modern trend looks are especially popular:
- French – elegant, clean, and perfect for everyday wear, the office, or special occasions
- Babyboomer – a soft gradient that looks very natural and matches any outfit
- Cat Eye – a modern look with depth and light reflections, ideal for special accents
- Chrome – bold, modern, and a real eye-catcher for events or trend looks
- Glitter – perfect for parties, festivals, or when your nail design should be the center of attention
Classic colors like red, white, or pink – timeless, versatile, and always appropriate.

Popular Shapes – Which Look Fits You?
The shape of your press-on nails affects not only style but also how natural or bold the result looks:
- Square – modern, clean, and especially popular for short to medium lengths
- Round – very natural, soft, and ideal for everyday wear
- Almond – elegant, feminine, and visually elongating for the fingers
- Coffin – trendy, bold, and perfect for expressive looks

Who Are Press On Nails Especially Suitable For?
Press On Nails are incredibly versatile and suitable for many different life situations. That’s exactly what makes them the ideal alternative to classic nail design for so many people.
-
Beginners without salon experience
Anyone who has never been to a nail salon or doesn’t feel comfortable with gel or acrylic nails will find an easy entry point with press-ons. They’re quick to apply, require no prior experience, and are easy to remove. -
People with limited time
Press On Nails are perfect for anyone who doesn’t want to spend hours in a nail salon. In just a few minutes, your nails are done – ideal for a polished everyday look. -
Jobs with strict hygiene or work requirements
Especially in fields like healthcare, medicine, or food service, where nails aren’t allowed at work, press-ons offer a flexible solution. They can be worn easily on days off, weekends, or vacations and then removed again. -
Special occasions & events
Weddings, birthdays, travel, or parties – press-on nails are ideal when you want beautiful nails on short notice without long-term commitment. -
Anyone who wants flexible nails
If you like changing your look or don’t want to wear a permanent nail design, you’ll especially benefit from the flexibility of press-ons.
→ In short: press-on nails adapt to your life – not the other way around.
The Most Important Things About Press On Nails at a Glance
Press On Nails are a flexible, modern, and beginner-friendly alternative to classic nail design. With proper preparation, the right size, and clean application, press-ons can be applied easily, worn safely, and removed gently.
Whether for everyday wear, special occasions, or as a flexible solution alongside work – press-on nails adapt to your life. If you follow the tips in this guide, nothing will stand in the way of beautiful nails without a nail salon!